Laravel API/w Sanctum and VueJS Front-End App/w Nuxt
With this post I want to go through the process of setting up a Laravel API using Sanctum for Authentication together with a VueJS Frontend app using the Nuxt VueJS Framework.
Table of contents
- Laravel API
- Laravel API Sanctum Authentication
- Postman
- Nuxt VueJS Frontend
- Base Views
- The Final Product
📢 Quick note on Cross-Origin Resource Sharing(CORS) and this development environment.
Oh man, when it comes to consuming your API from your own, so-called, first-party Single Page Application (SPA), getting the CORS configuration right is probably the thing that causes the most confusion.
Generally, browsers block Cross-Origin requests if the domain for both the API and SPA does not match. We'll configure this as well, but note, it can get tricky, at least, for me it was.
The Laravel API will run using Valet at hostname https://api.app.test and the Vue Frontend on https://app.test:3000. The port also needs to be configured correctly.
So, as this guide is for a Development environment, you would need to adapt some steps for a Production environment. For example, I used the .test TLD throughout the guide and port 3000 for the frontend, so take note of this and make the necessary updates based on your environment / needs.
Laravel

Install Laravel
First things first, I am not going to go into too much detail here, but I made use of Laravel Valet to get a Laravel instance up and running.
# Let's add a variable, because we are going to copy and paste a lot.
app=app# Create a directory and navigate to it.
mkdir $app && cd $app# Use the Laravel command to scaffold a new Laravel app.
laravel new api.$app# Navigate to the new app's directory.
cd api.$app# Use the Valet link command to link the new app.
valet linkSomething like this 👇
The last thing I consider to be part of the Laravel installation is to make a few changes to the .env file.
There are a few things to add/change:
I am making an assumption that most readers already know what is going on here, if not, take a look here.
| Variable | Value | Description |
|---|---|---|
| APP_NAME | app | The name of the app |
| APP_URL | http://api.app.test | The URL where the App lives |
| SESSION_DOMAIN | .app.test | Needed for Sanctum and CORS |
| SANCTUM_STATEFUL_DOMAINS | app.test:3000 | Needed for Sanctum and CORS |
| DB_DATABASE | app | Database Name |
| DB_USERNAME | app | Database Username |
| DB_PASSWORD | app@Pass1234 | Database Password |
I usually make use of the following few lines of sed; and most of the variables are set using the bash variable we set at the start of the installation of the Laravel App.
sed -i '' \
    -e "s/^APP_NAME=Laravel$/APP_NAME=$app/" \
    -e "s/^APP_URL=http:\/\/localhost$/APP_URL=http:\/\/api.$app.test/" \
    -e '/^APP_URL=http.*$/a\
        SESSION_DOMAIN=.'$app'.test \
        SANCTUM_STATEFUL_DOMAINS='$app'.test:3000' \
    -e "s/^DB_DATABASE=laravel$/DB_DATABASE=$app/" \
    -e "s/^DB_USERNAME=root$/DB_USERNAME=$app/" \
    -e "s/^DB_PASSWORD=$/DB_PASSWORD=$app@Pass1234/" .env
Authentication Scaffolding
We'll make use of the Laravel UI package to scaffold authentication. We won't be using the views that the command creates, we are only looking for the Auth Controllers.
These controllers are useful, as will become apparent when we list the added routes, but everything is taken care of in this way compared to rolling out our own Register and Login controllers (that is where most people stop). What I mean by that is that this approach gives us not only Register and Login, but everything from password reset to email verification.
The following commands will configure everything we require.
# Add the Laravel UI package
composer require laravel/ui# Scaffold the necessary controllers for the middleware.
php artisan ui bootstrap --authTo see all the new routes use php artisan route:list.
You may have noticed that the output instructs that we should run npm install && npm run dev, however, as we are only looking for the Auth Controllers to use with the Laravel API, we can safely ignore this. In fact, we can also remove the additions which have been added to packages.json by running the following sed command. In fact, we are not going to make use of any of the packages described in packages.json so it can safely be ignored.
sed -i '' \
    -e '/bootstrap/d' \
    -e '/jquery/d' \
    -e '/popper/d' package.json
Database setup and Migration
Alright, the last part required for creating a basic Laravel app starting point is to create a database, assign permissions, and run the Laravel migrations.
# Create Database
mysql -u root <<-EOF
CREATE DATABASE $app;
CREATE USER $app@'localhost' IDENTIFIED BY '$app@Pass1234';
GRANT ALL PRIVILEGES ON $app . * TO $app@'localhost';
FLUSH PRIVILEGES;
EOF
# Run migrations
php artisan migrateLaravel API Sanctum Authentication
Sanctum Installation
The installation is clearly outlined in the Laravel Sanctum Installation documentation, but there are basically 3 required steps.
# Install / Add the Laravel Sanctum package using composer.
composer require laravel/sanctumAfter running the above command, you'll notice the middleware for our routes have changed from before, see php artisan route:list.
# Publish the Sanctum config to the Laravel app.
php artisan vendor:publish \
    --provider="Laravel\Sanctum\SanctumServiceProvider"
# Migrate the Sanctum tables.
This is actually optional as its only required if we want to use tokens and not cookies, but I do not want hiccups later should I need it.
php artisan migrateEnable Sanctum Middleware
Enable the Sanctum middleware to the API middleware group within the app/Http/Kernel.php file, see # comments:
<?php

namespace App\Http;

use Illuminate\Foundation\Http\Kernel as HttpKernel;

# Add this line in the Use block
use Laravel\Sanctum\Http\Middleware\EnsureFrontendRequestsAreStateful;

class Kernel extends HttpKernel
{

    [...SNIP...]

    protected $middlewareGroups = [

        [...SNIP...]

        'api' => [
        	# The following line should be added to the
			# protected $middlewareGroups section.
    		EnsureFrontendRequestsAreStateful::class,

            'throttle:60,1',
            \Illuminate\Routing\Middleware\SubstituteBindings::class,
        ],
    ];

    [...SNIP...]

}
Configure CORS
👉 During our .env update section above we have already added the SESSION_DOMAIN and SANCTUM_STATEFUL_DOMAINS configuration, but that was actually a Sanctum config.
So all that remains is to update a few sections within config/cors.php.
- We need to update the paths as described below, as well as
- Enable support for credentials.
<?php

return [

    'paths' => [
        'api/*',
        'sanctum/csrf-cookie',
        'login',
        'logout',
        'register',
        'password/*'
    ],

    [...SNIP...]

    'supports_credentials' => true,

];
Update Route Authentication Middleware
Lastly, within the routes/api.php we need to specify that the routes make use of the Sanctum auth middleware, so we'll replace the auth:api middleware with auth:sanctum.
<?php

use Illuminate\Http\Request;
use Illuminate\Support\Facades\Route;

# ---------sanctum---------↓
Route::middleware('auth:sanctum')->get('/user', function (Request $request) {
    return $request->user();
});
Postman
Postmap is a neat app for interacting with APIs. See the bookmark below to find out more or to download the latest version.

Postman Collection
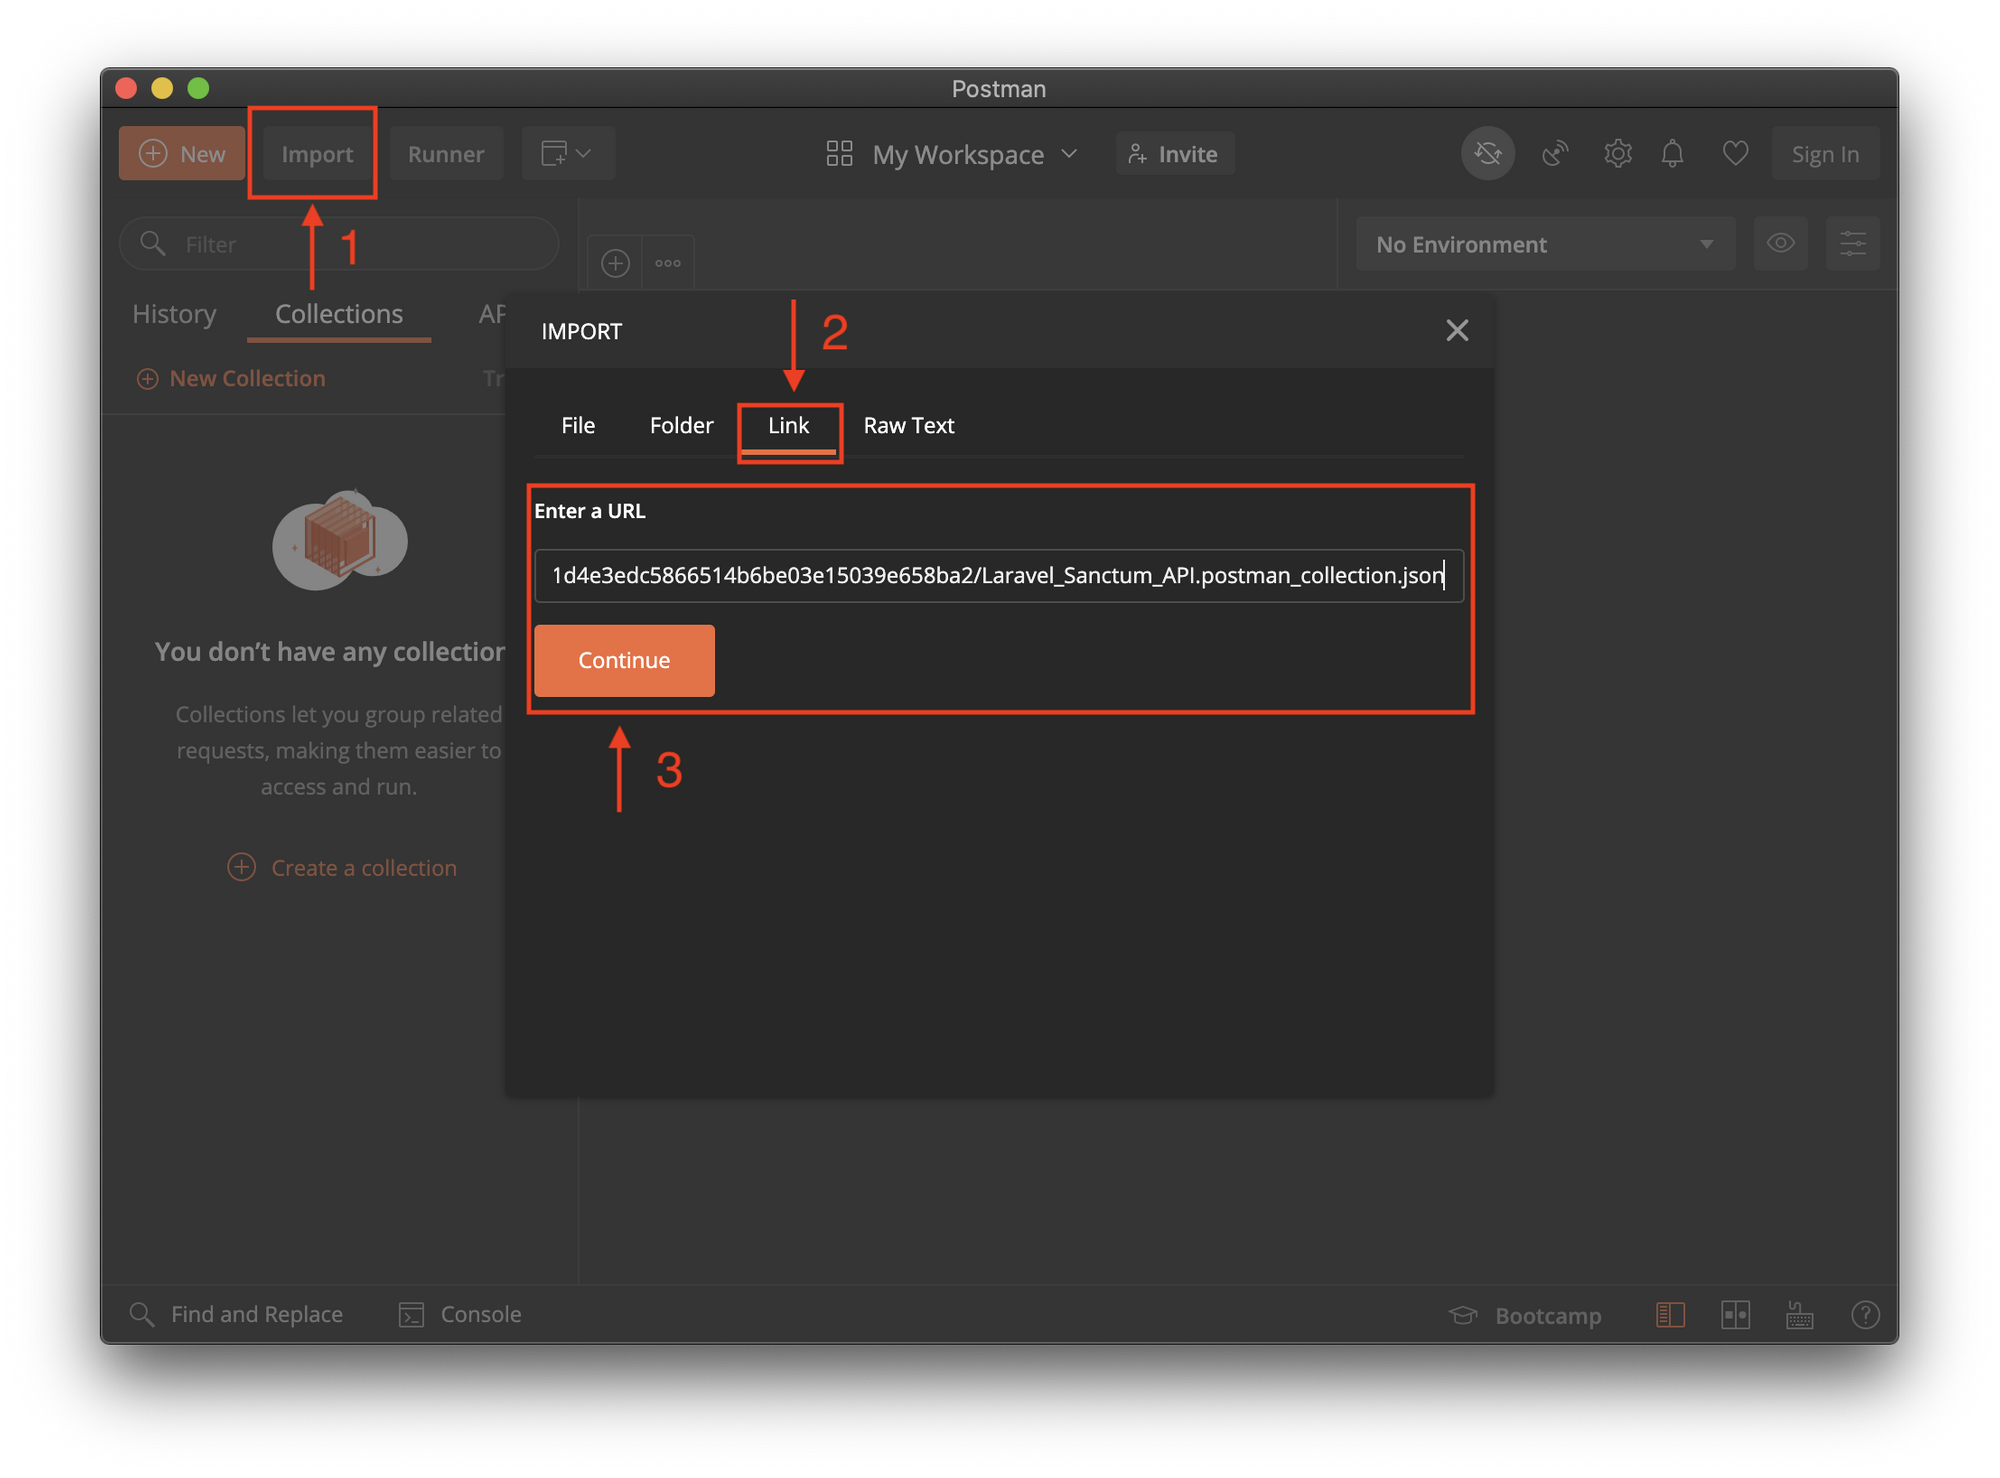
To make things a little easier I created a Postman collection to import into Postman.
We'll use the Import feature towards the top-left and specify the URL to the Postman collection in the Link tab of the Import window.
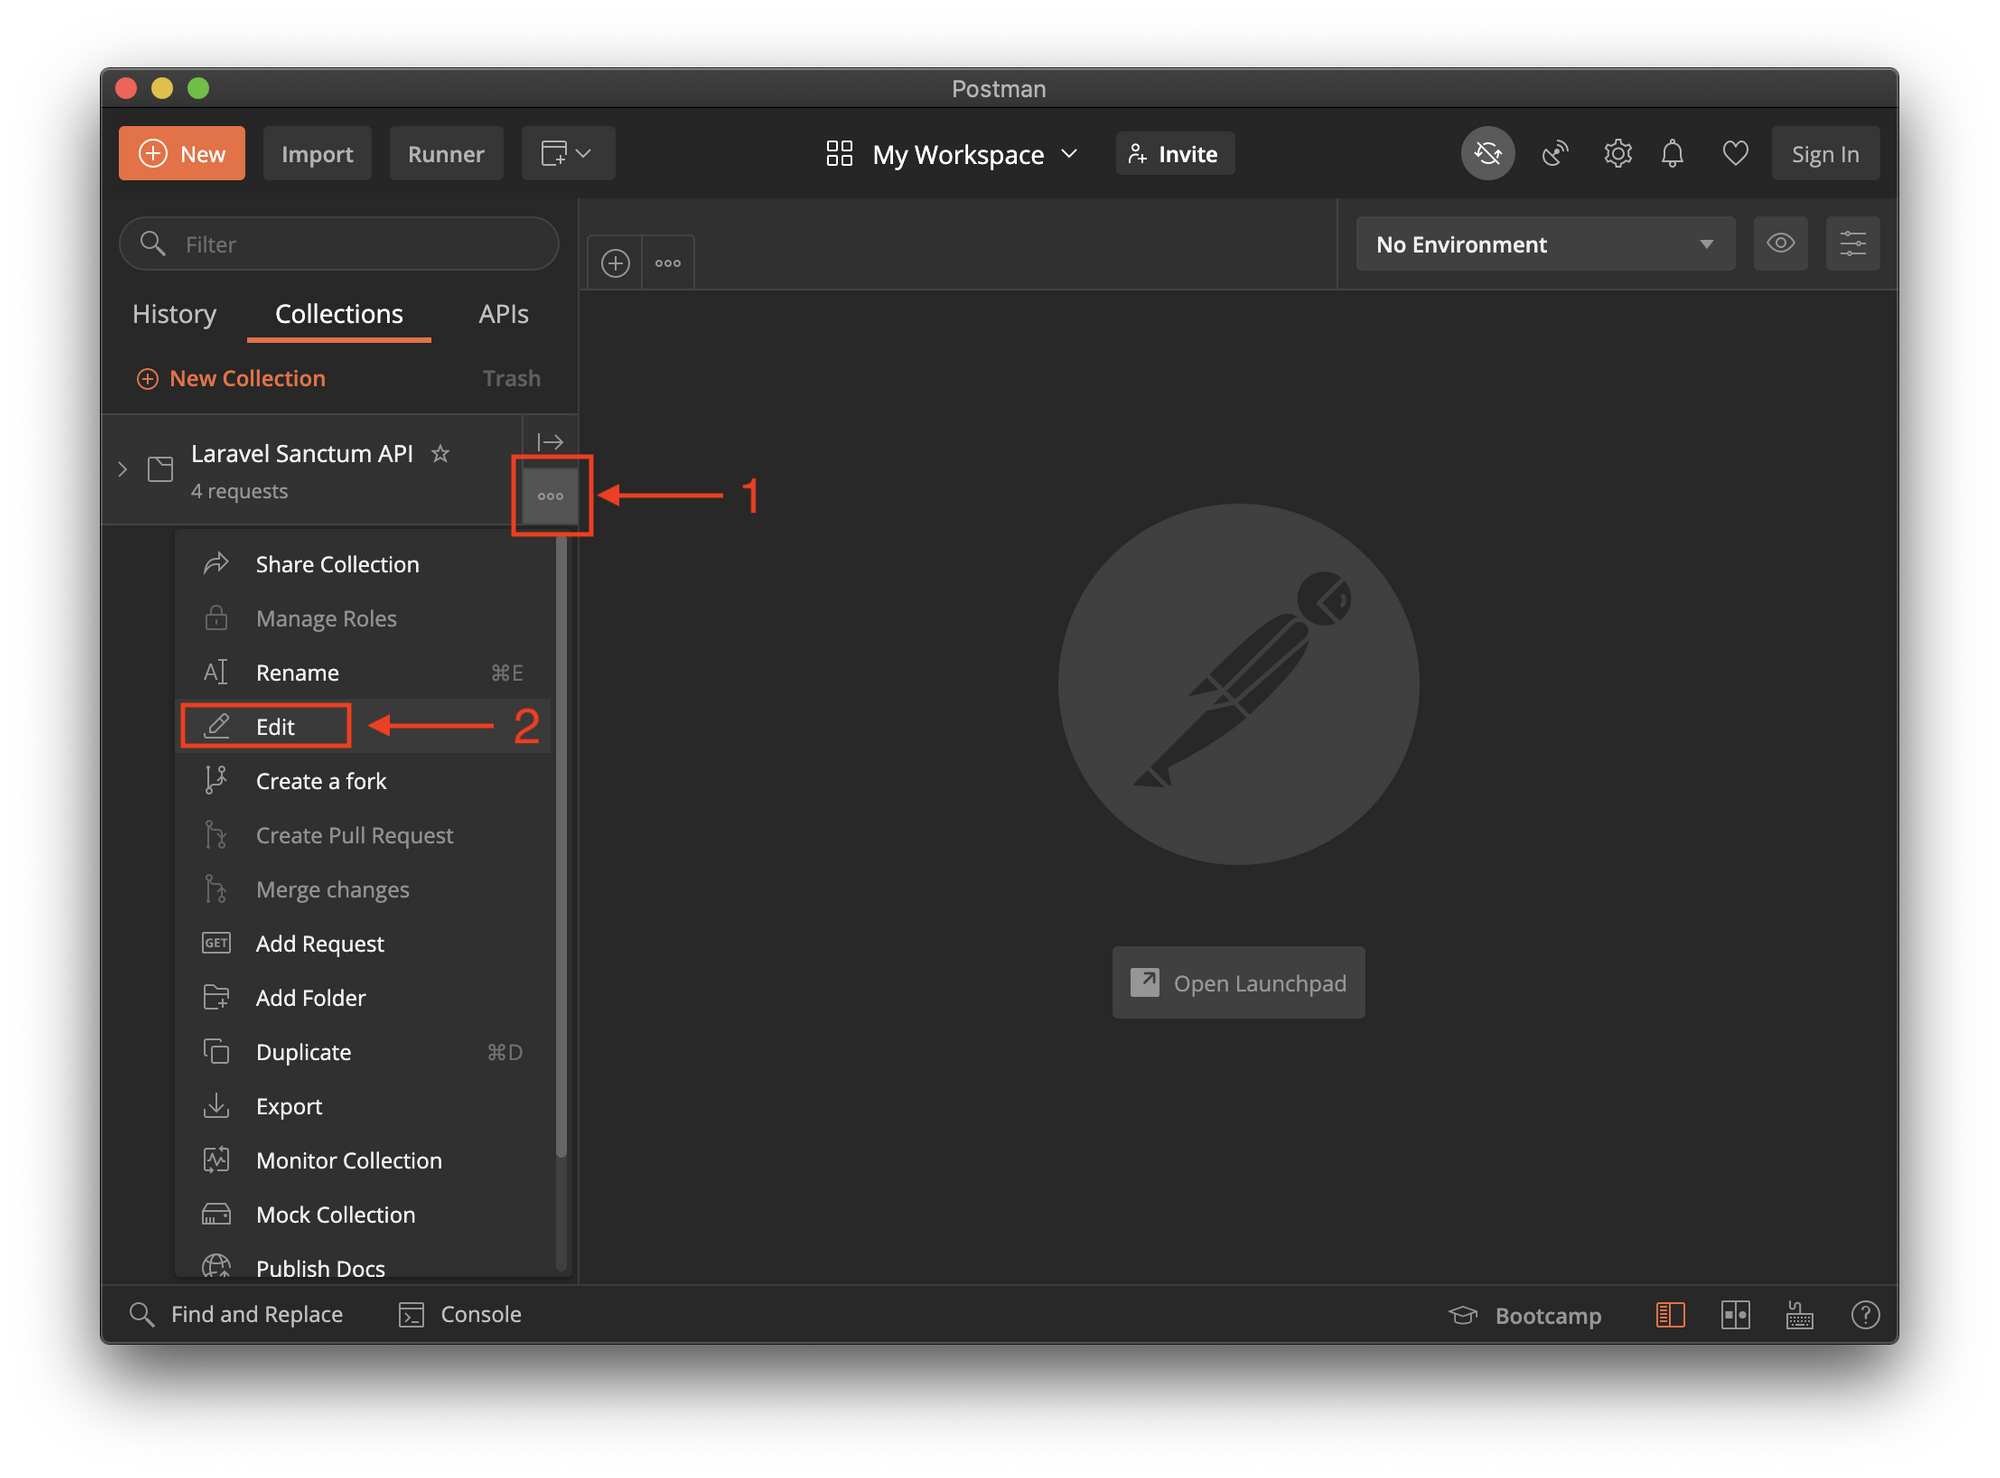
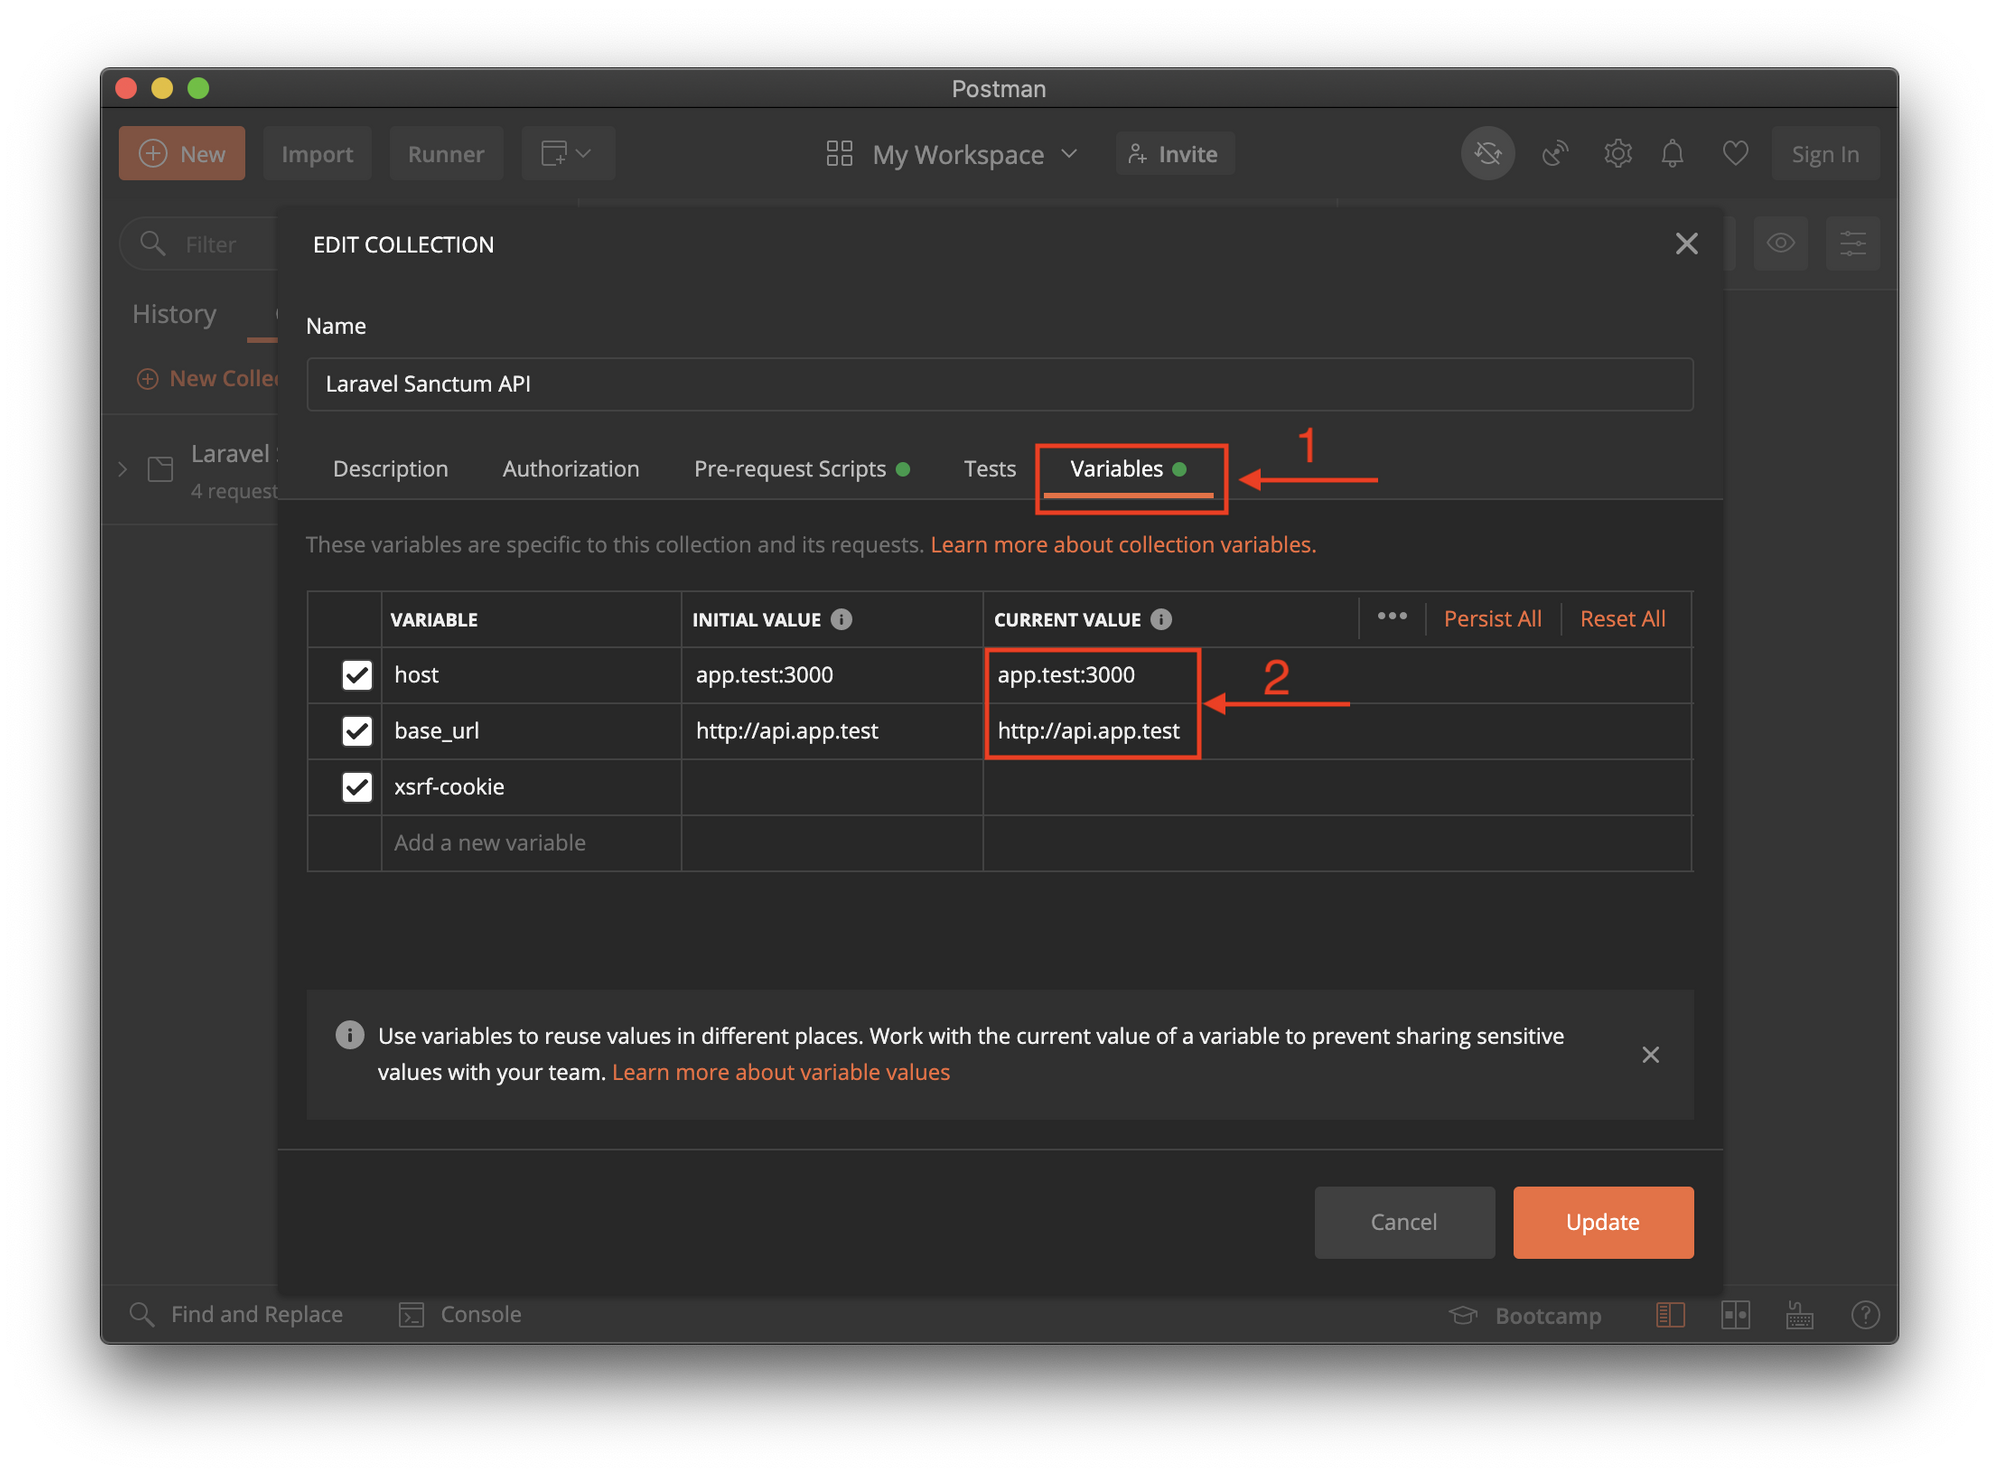
Variables
Once the Collection has been imported, update the variables within the collection's variables tab from the edit window. Update the host and base_url variables:
Endpoints
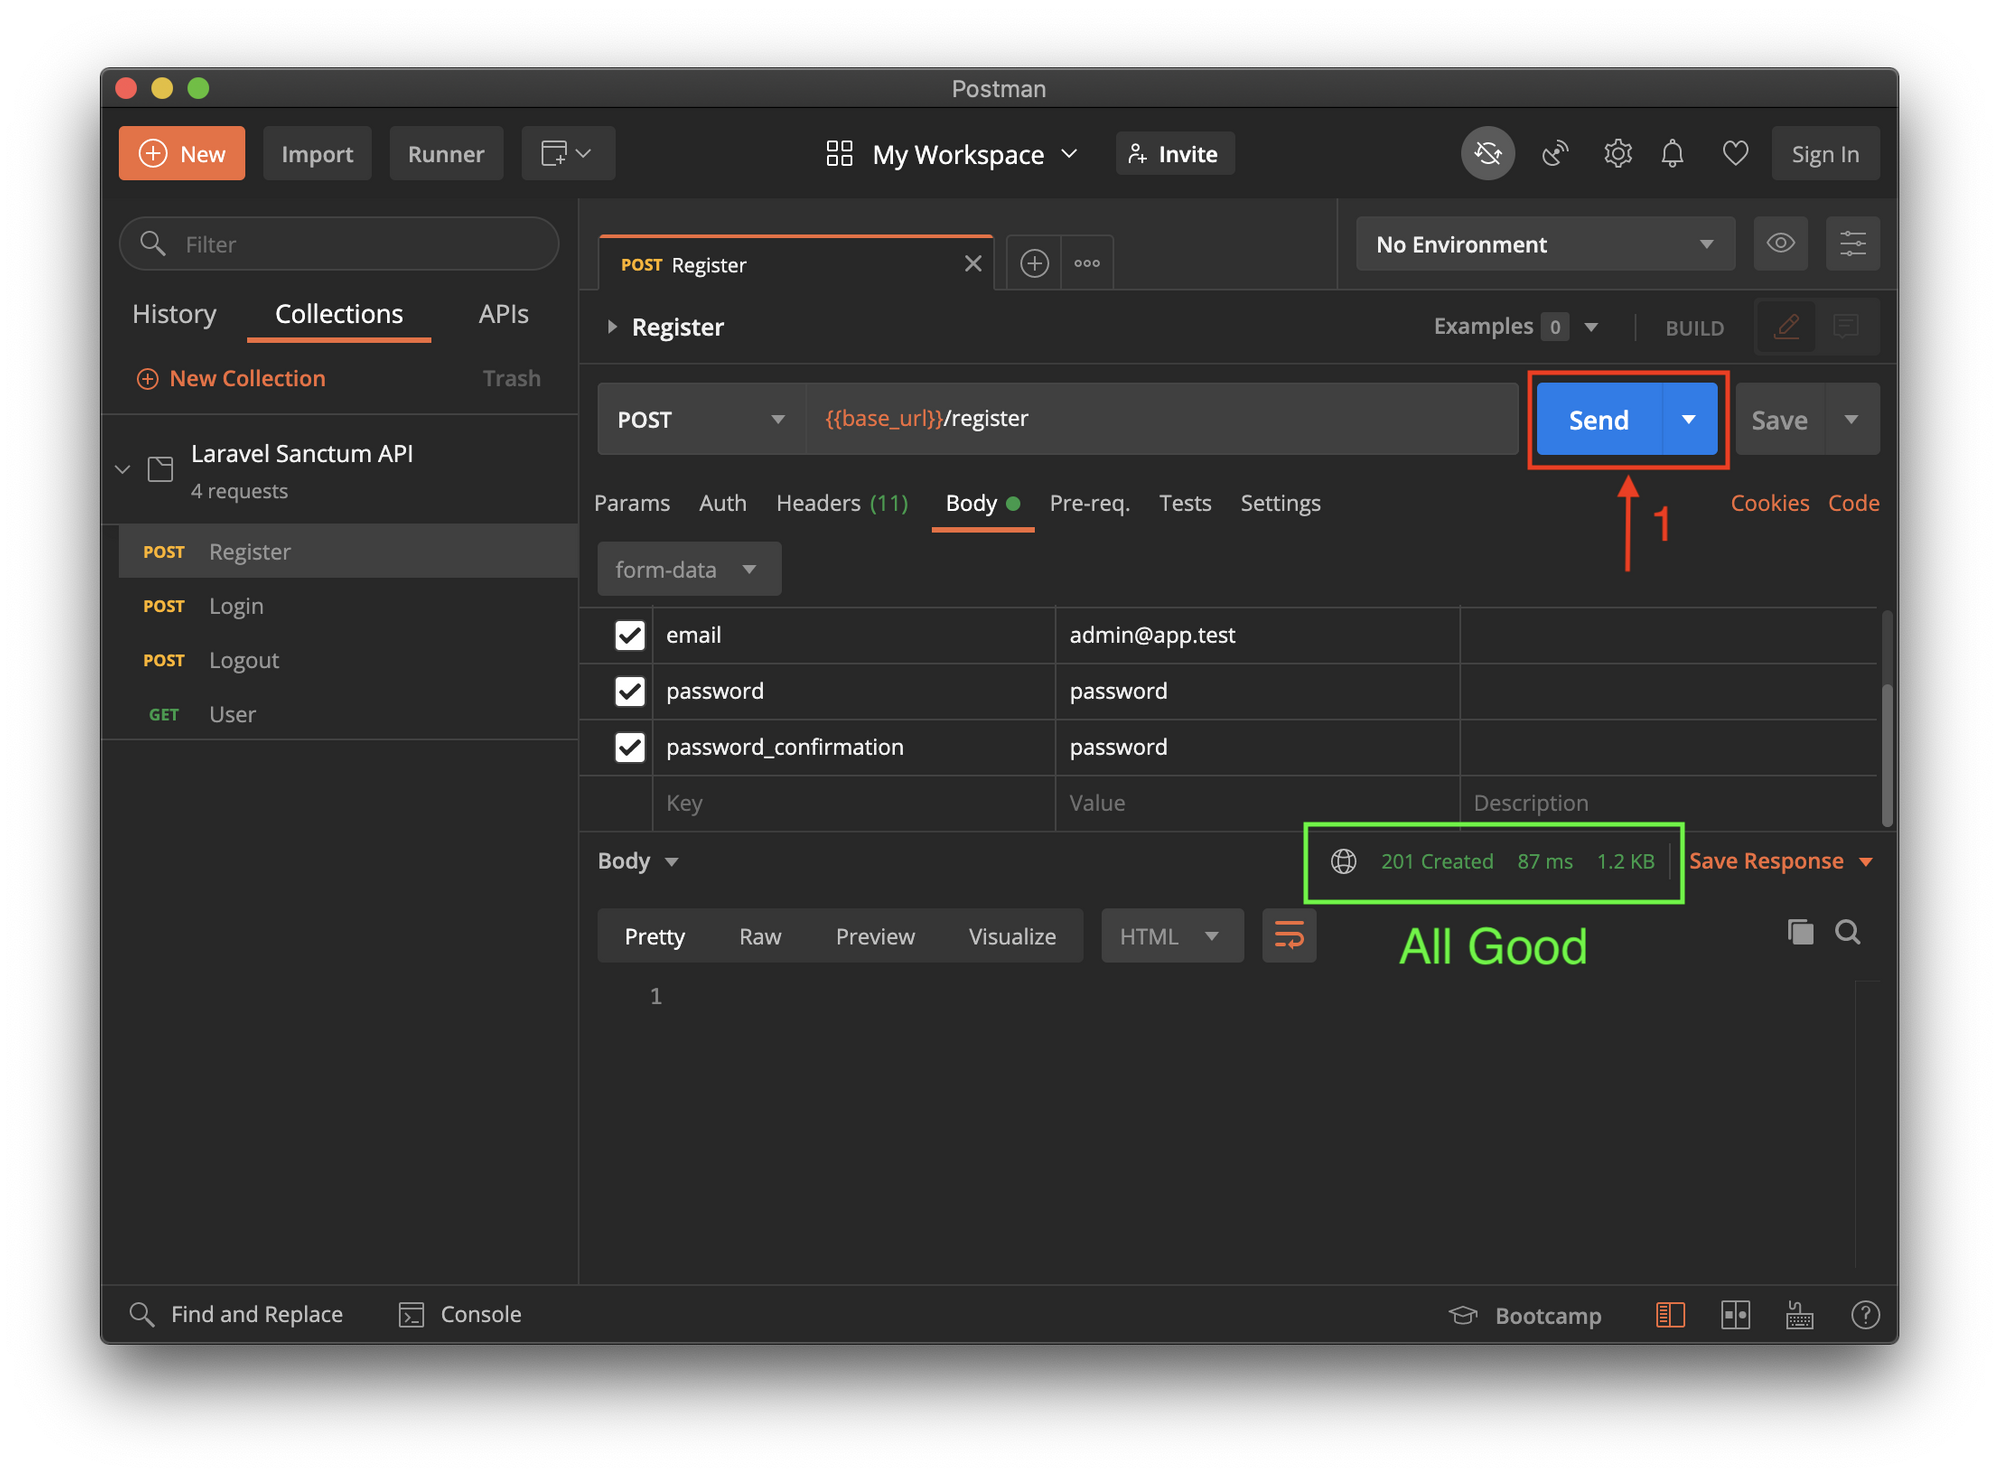
With that we have the following basic auth endpoints:
- POST Register
- POST Login
- GET User
- POST Logout
Using the Register request, update the values as desired and create a user by using the send button. In the response pane (to the bottom) a 201 Created is what we want to see. :)
Using the User request, we get the details of the currently signed in user. By default after a user is created, they are automatically signed in. But you are welcome to first use the Logout request to log back in before viewing the user.
NOTE: The Referrer Header should be set to host, it should match the environment variable SANCTUM_STATEFUL_DOMAINS set in the Laravel .env file.
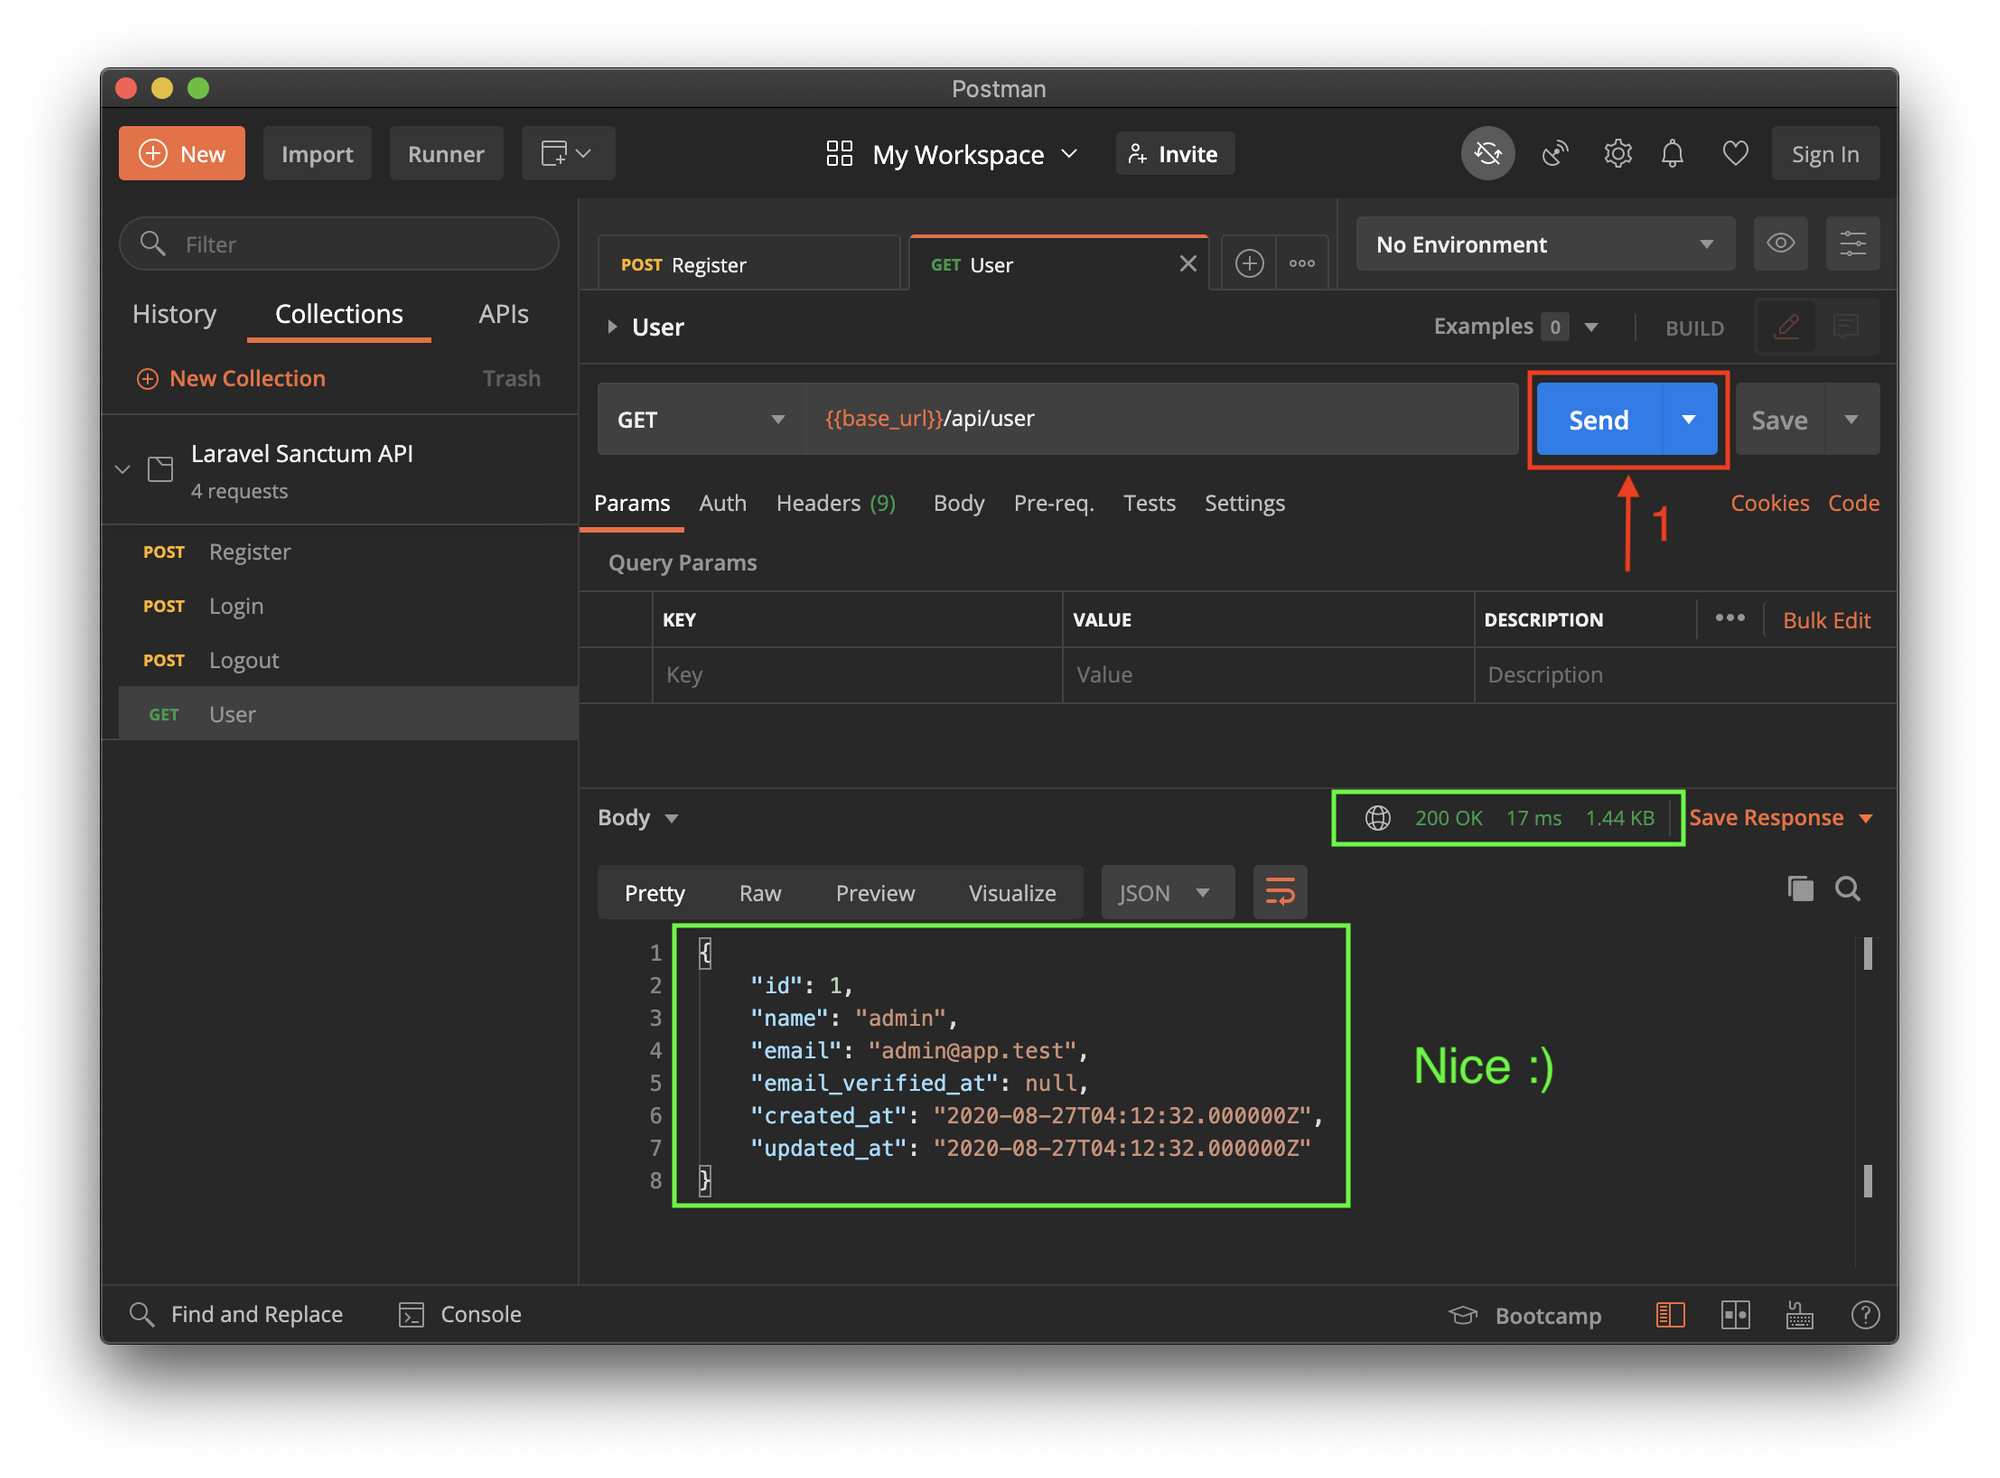
With this we have confirmed that the API with Sanctum Authentication work as expected and I suggest that this collection be built on as you develop the API further.
Nuxt VueJS Frontend
The last part is to create a Frontend app to interact with the API, and for that we'll make use of the VueJS Nuxt Framework.

Installation
# To install, we'll go up one directory and run the Nuxt installer.
During the installation, we'll be prompted for a few installation options, you are welcome to select the options best suited to your needs.
NOTE: See the cast below for the options I prefer.
cd ../
npx create-nuxt-app $app
# I prefer to remove the .git directory at this point and add it later when I am ready.
cd $app
rm -rf .git
Configure Hostname for CORS
As we are still running in a Development environment, let us update the dev command in the packages.json to start the dev server using the same host.
As mentioned before, CORS causes some complication, so take note of what is required to be updated, especially when you start moving the API and the App to production.
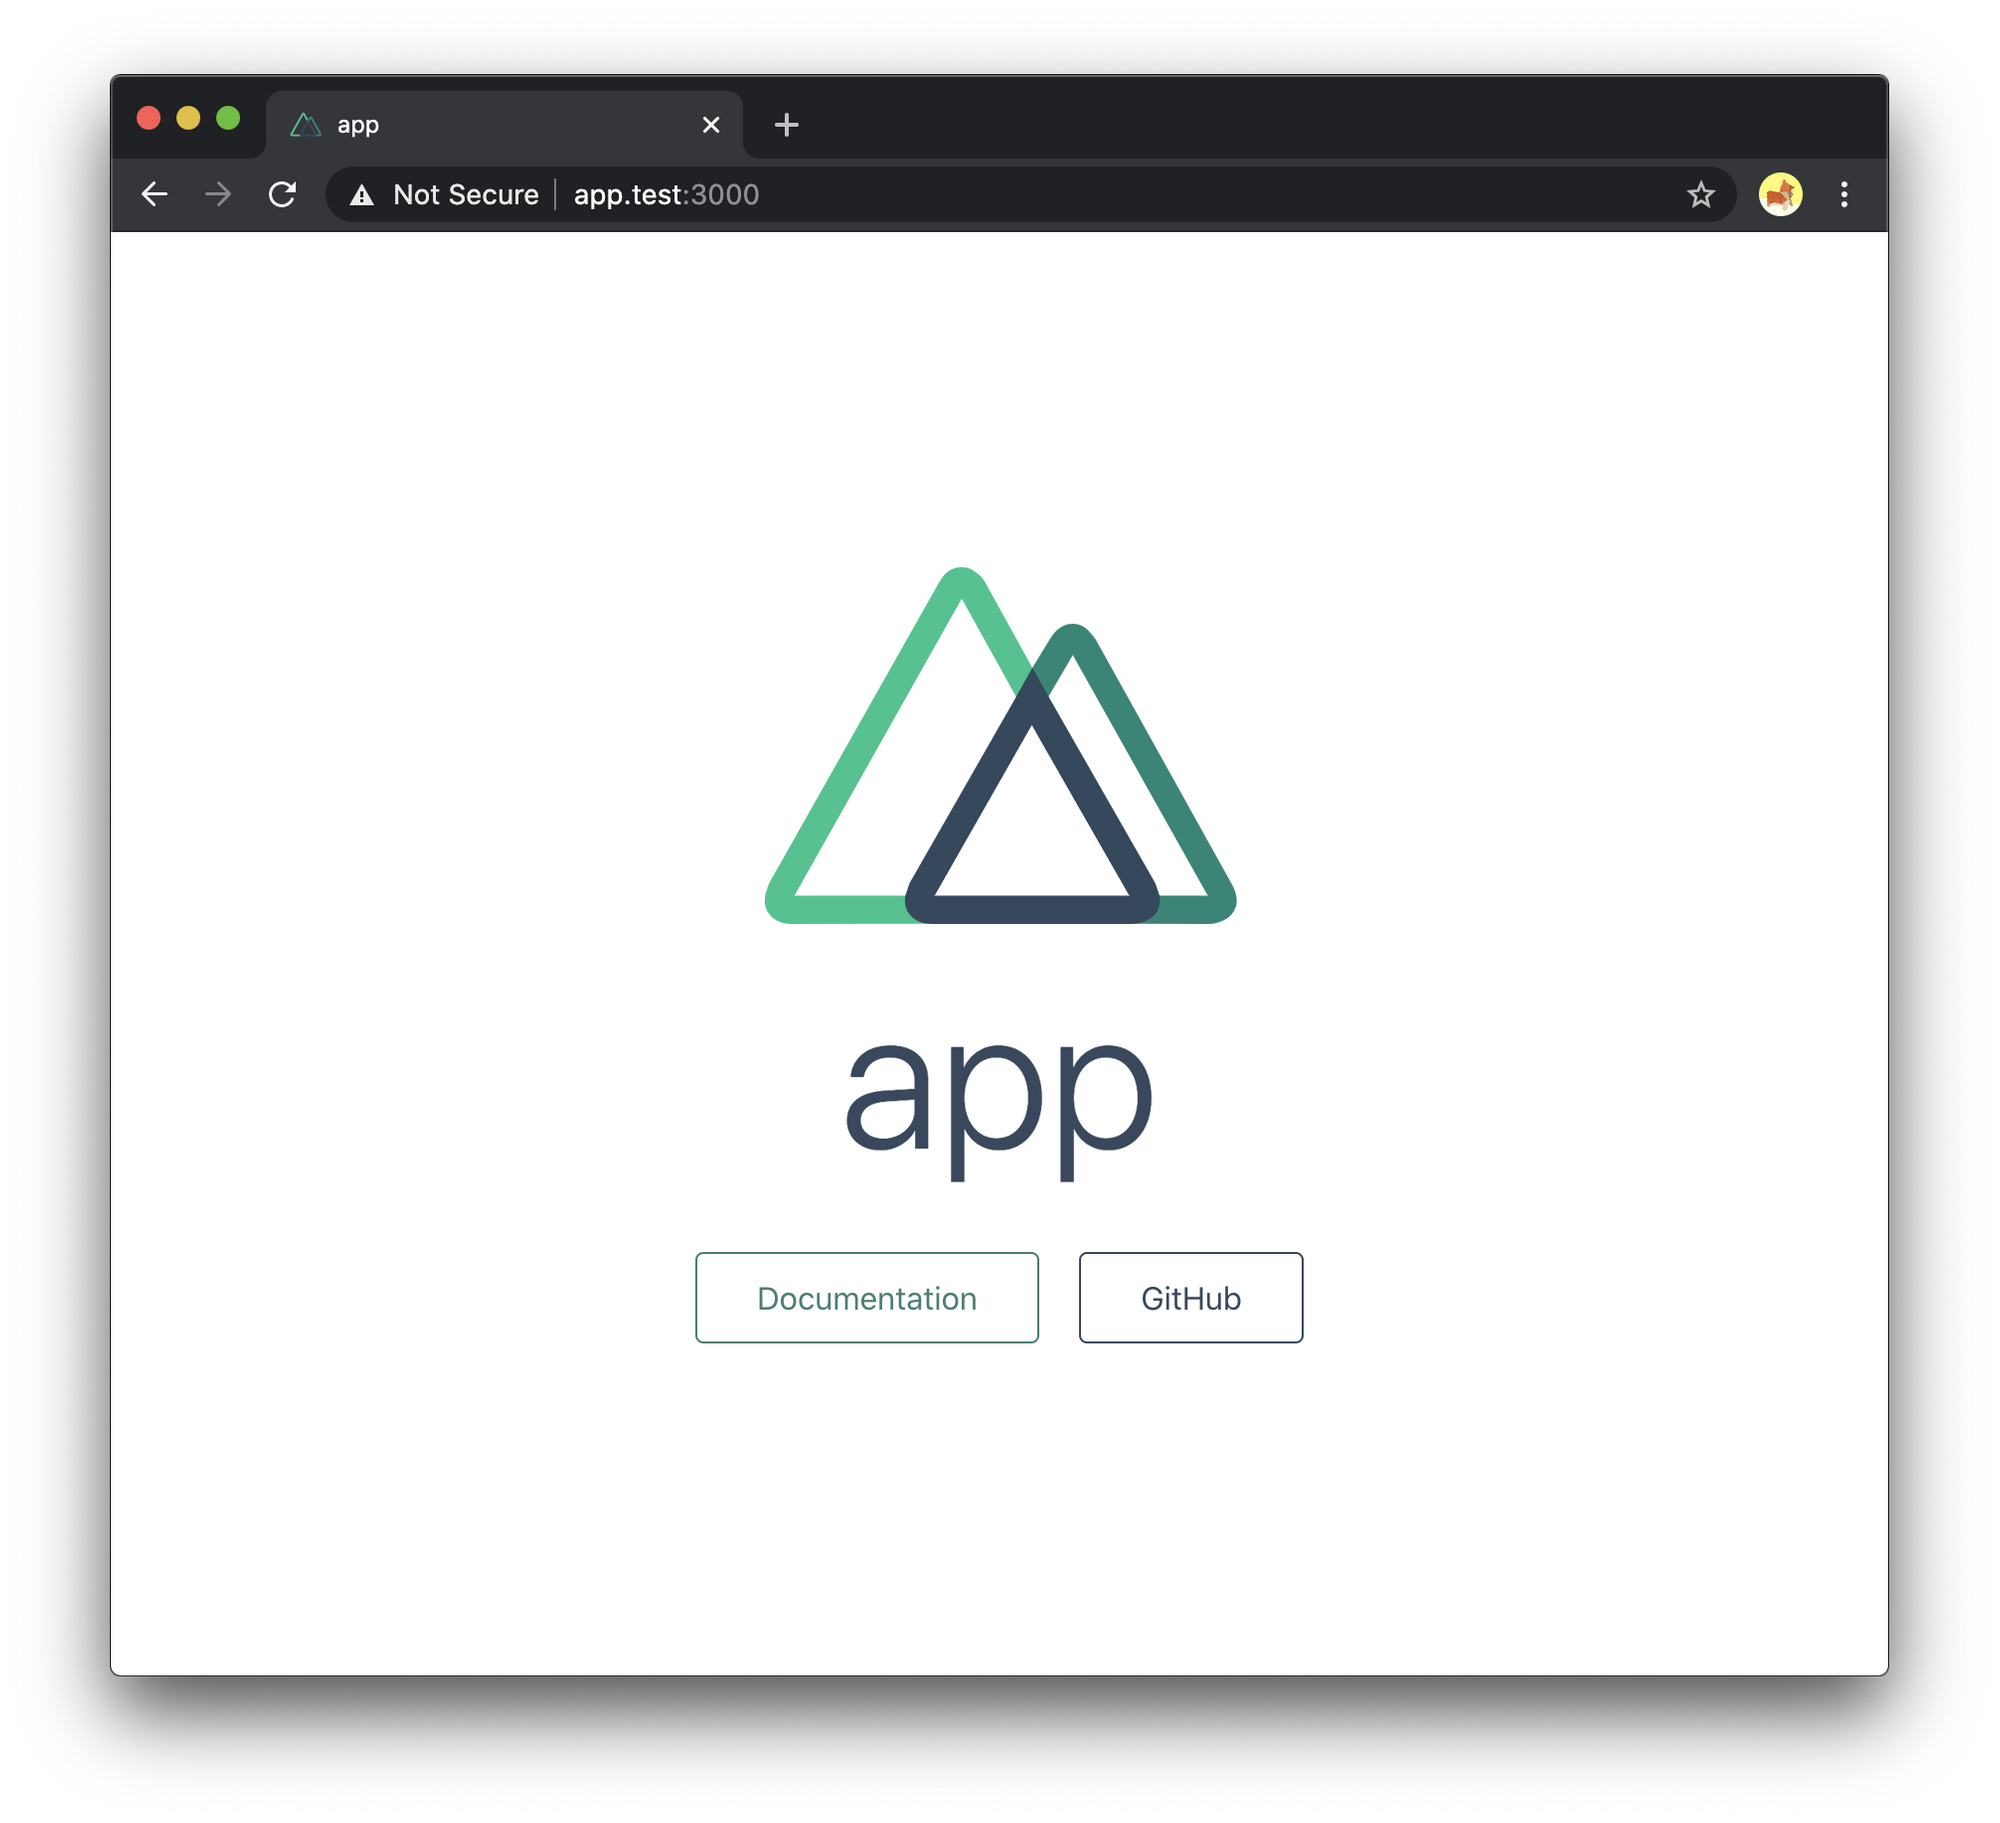
sed -i '' "s/\"dev\": \"nuxt\"/\"dev\": \"nuxt --hostname $app.test\"/" package.jsonWhen running npm run dev we'll confirm that we can access http://app.test:3000, instead of http://localhost:3000, which is needed so that we do not receive any CORS errors.
Configure Axios
We can now set the baseURL for axios and enable credentials. This is required for the API (Sanctum).
Within the nuxt.config.js we add the following to the axios section.
🚨 Make sure the URL is correct, in this example I used app.
{
   [...SNIP...]
   axios: {
     baseURL: 'http://api.app.test/',
     common: {
       Accept: 'application/json, text/plain, */*'
     },
     credentials: true
   },
   [...SNIP...]
}
The sed command below can also be used to update the configuration.
sed -i '' 's/axios: {},/axios: {\
     baseURL: '"'http:\/\/api.$app.test\/'"',\
     common: {\
       Accept: '"'application\/json, text\/plain, *\/*'"'\
     },\
     credentials: true\
   },/' nuxt.config.js
API Authentication with Nuxt Auth
There is a Nuxt community project which enables Authentication support to the Nuxt application. It's basically 2 steps, install and config.
# Install the module.
npm install @nuxtjs/auth# Add the module and it's configuration to nuxt.config.js.
{
   [...SNIP...]
   /*
   ** Nuxt.js modules
   */
   modules: [
     [...SNIP...]
     // Doc: https://auth.nuxtjs.org/
     '@nuxtjs/auth'
   ],
   [...SNIP...]
   /*
   ** Auth module configuration
   ** See https://auth.nuxtjs.org/schemes/local.html#options
   */
   auth: {
     strategies: {
       local: {
         endpoints: {
           login: { url: '/login', method: 'post' },
           logout: { url: '/logout', method: 'post' },
           user: { url: '/api/user', method: 'get', propertyName: false}
         },
         tokenRequired: false,
         tokenType: false
       }
     }
   },
}
The sed commands below can also be used to update the configuration.
sed -i '' 's/'"'@nuxtjs\/axios'"'/'"'@nuxtjs\/axios'"',\
    \/\/ Doc: https:\/\/auth.nuxtjs.org\/\
    '"'@nuxtjs\/auth'"'/' nuxt.config.js
sed -i '' 's/credentials: true/credentials: true\
},\
\/*\
** Auth module configuration\
** See https:\/\/auth.nuxtjs.org\/schemes\/local.html#options\
*\/\
auth: {\
strategies: {\
local: {\
endpoints: {\
login: { url: '"'\/login'"', method: '"'post'"' },\
logout: { url: '"'\/logout'"', method: '"'post'"' },\
user: { url: '"'\/api\/user'"', method: '"'get'"', propertyName: false }\
},\
tokenRequired: false,\
tokenType: false\
}\
}/' nuxt.config.jsStart Development Server
We are just about ready to run our dev server. The last step is to initiate the Vuex Store by creating a store/index.js file and then we can start the dev server.
touch store/index.js
npm run dev
Starter Views
Now that our server is up and running, let's add some views for register and login, and get the user data.
NOTE: You can leave the dev server running, just open a new terminal window to curl the Vue components to the correct location. Make sure you are in the root directory of the Vue App, in my case it is ~/_Development/app/app. I have also added a demo of using the curl command at the end of this section.
default.vue
We'll add a Navbar to the default.vue file that is include with Nuxt.
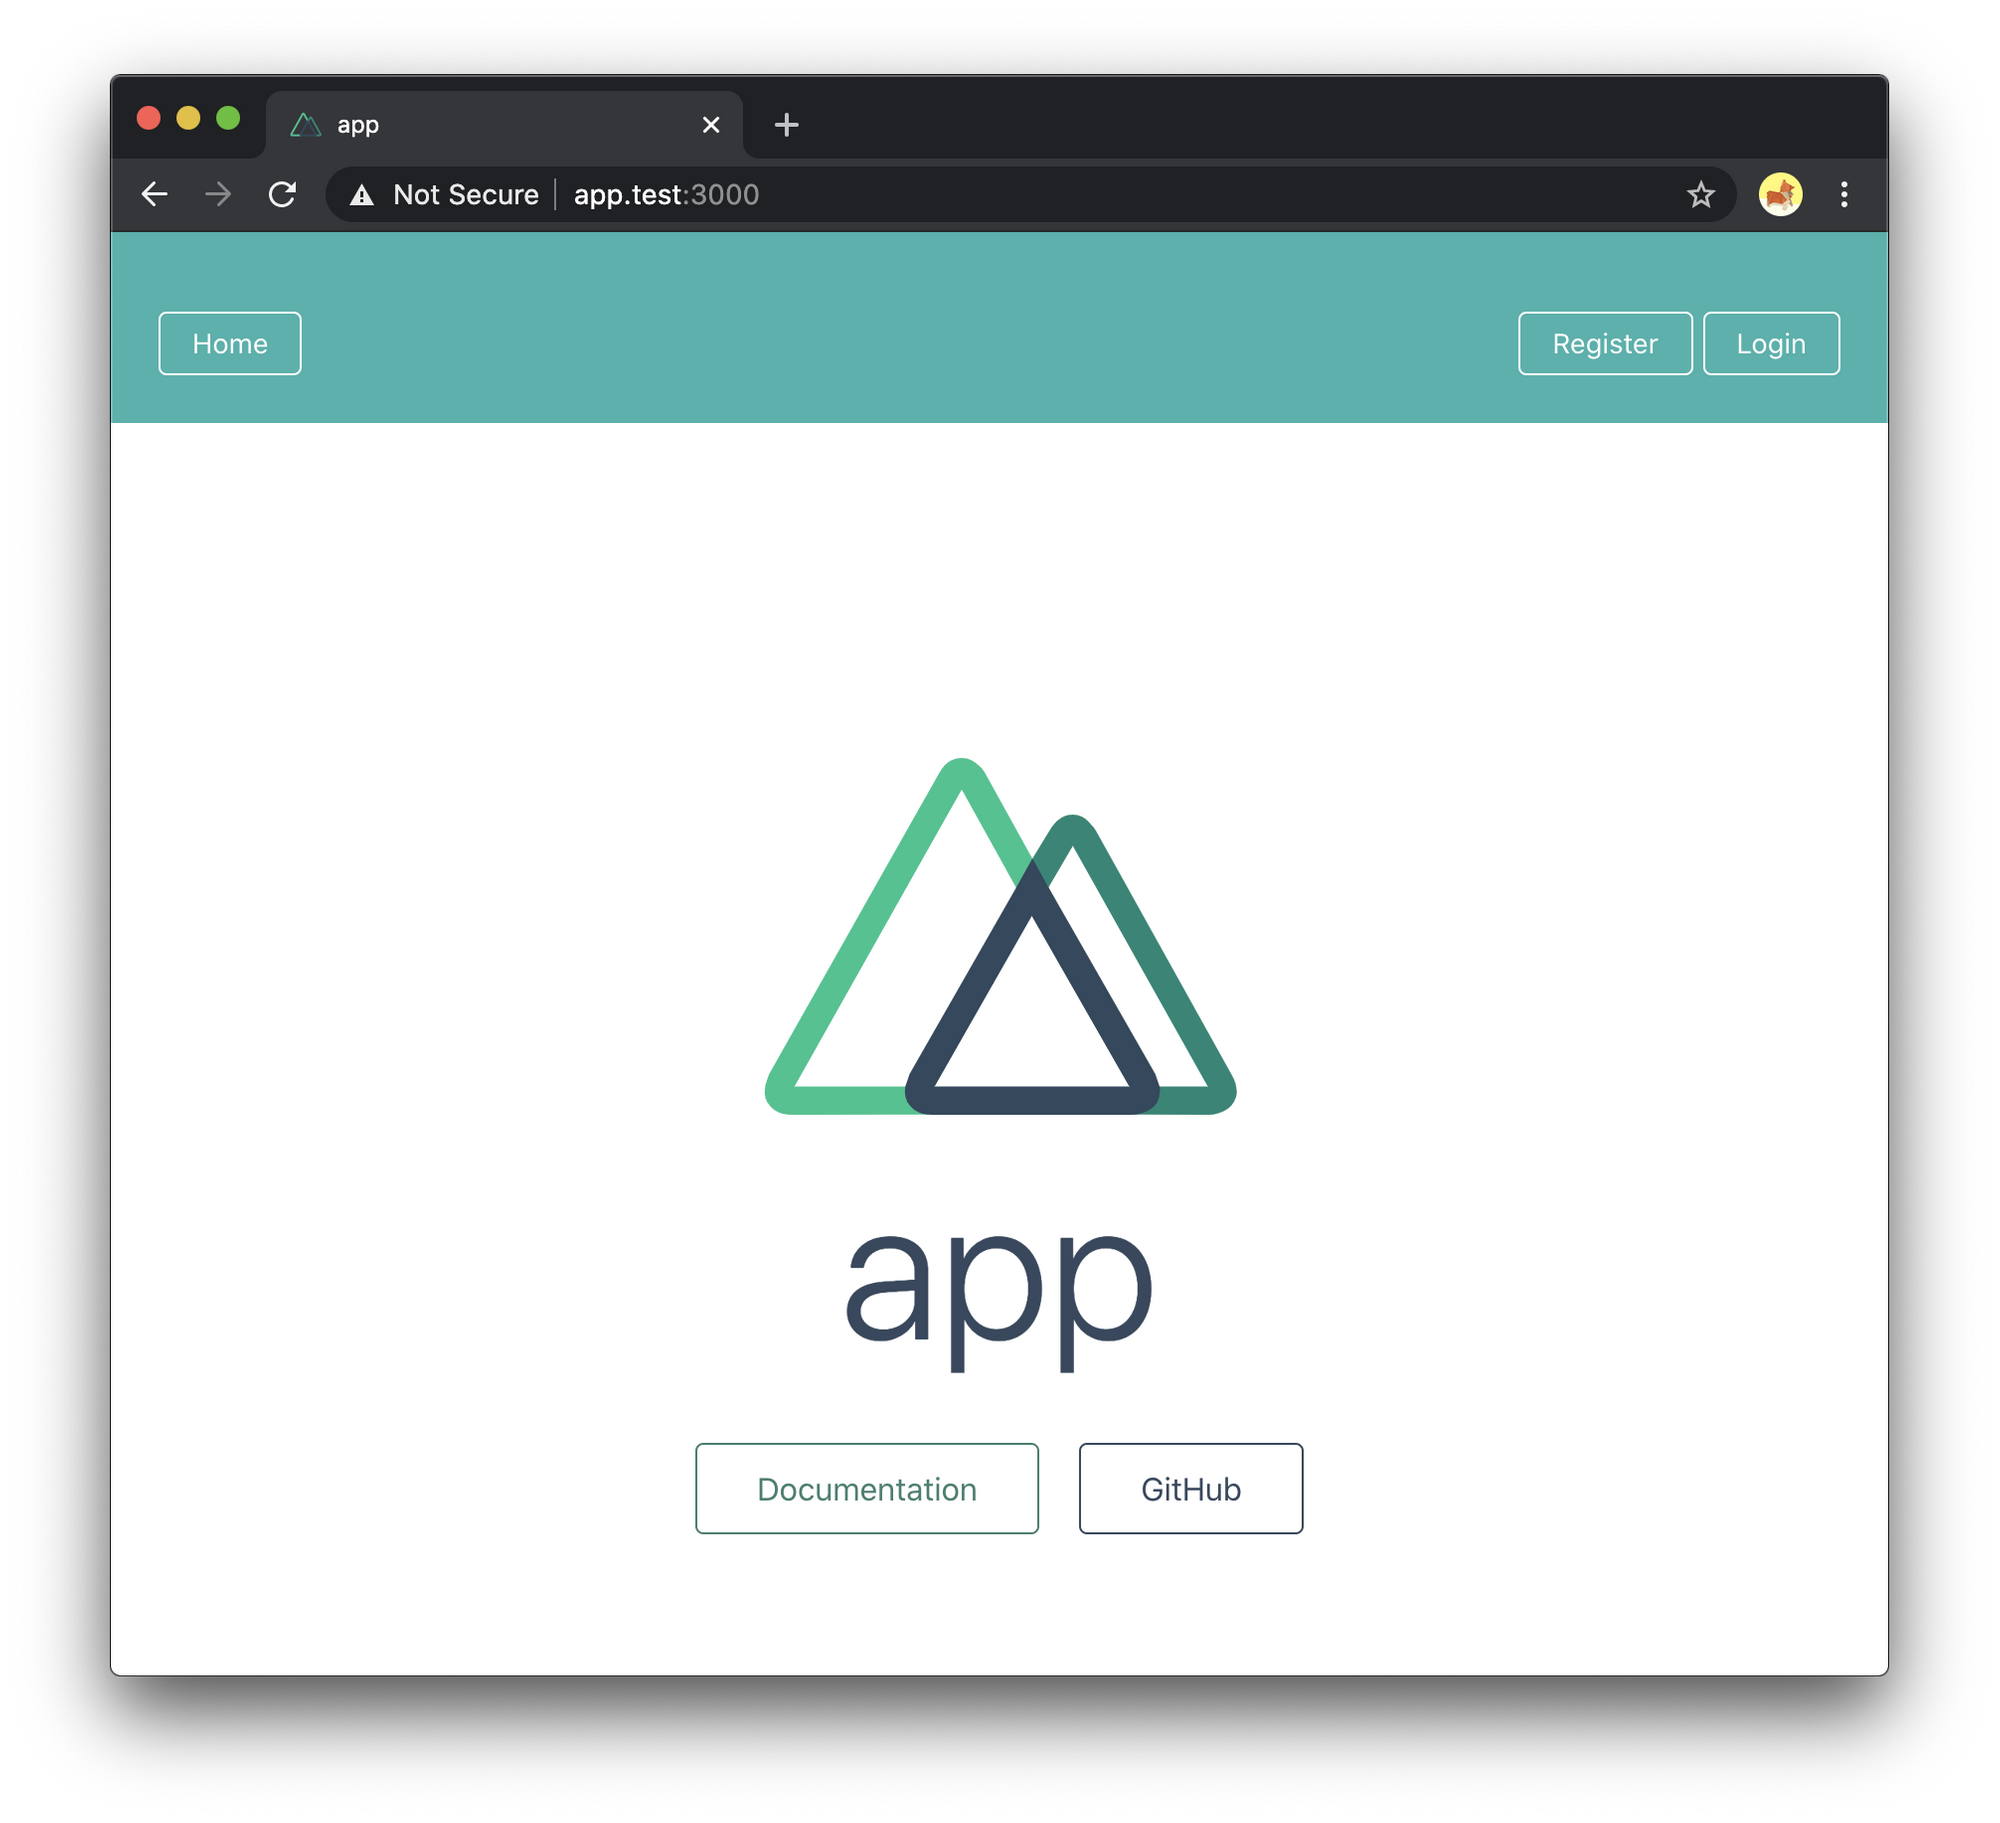
See the code snippet below to get an idea of what it looks like. However, to make things easier, I have created a gist which we can curl.
curl https://gist.githubusercontent.com/CryDeTaan/ef62bf007f0de76faf8ea9dbf69c2bc3/raw/8ab40794fb7fa47dc64f962649e8c6ad0e5fdf5d/default.vue -o layouts/default.vueregister.vue
Next is the register.vue file, I have hardcoded a username and password, THIS IS BAD, it's just to make the demo and getting started easier, so please update/remove it when you got the hang of this :)
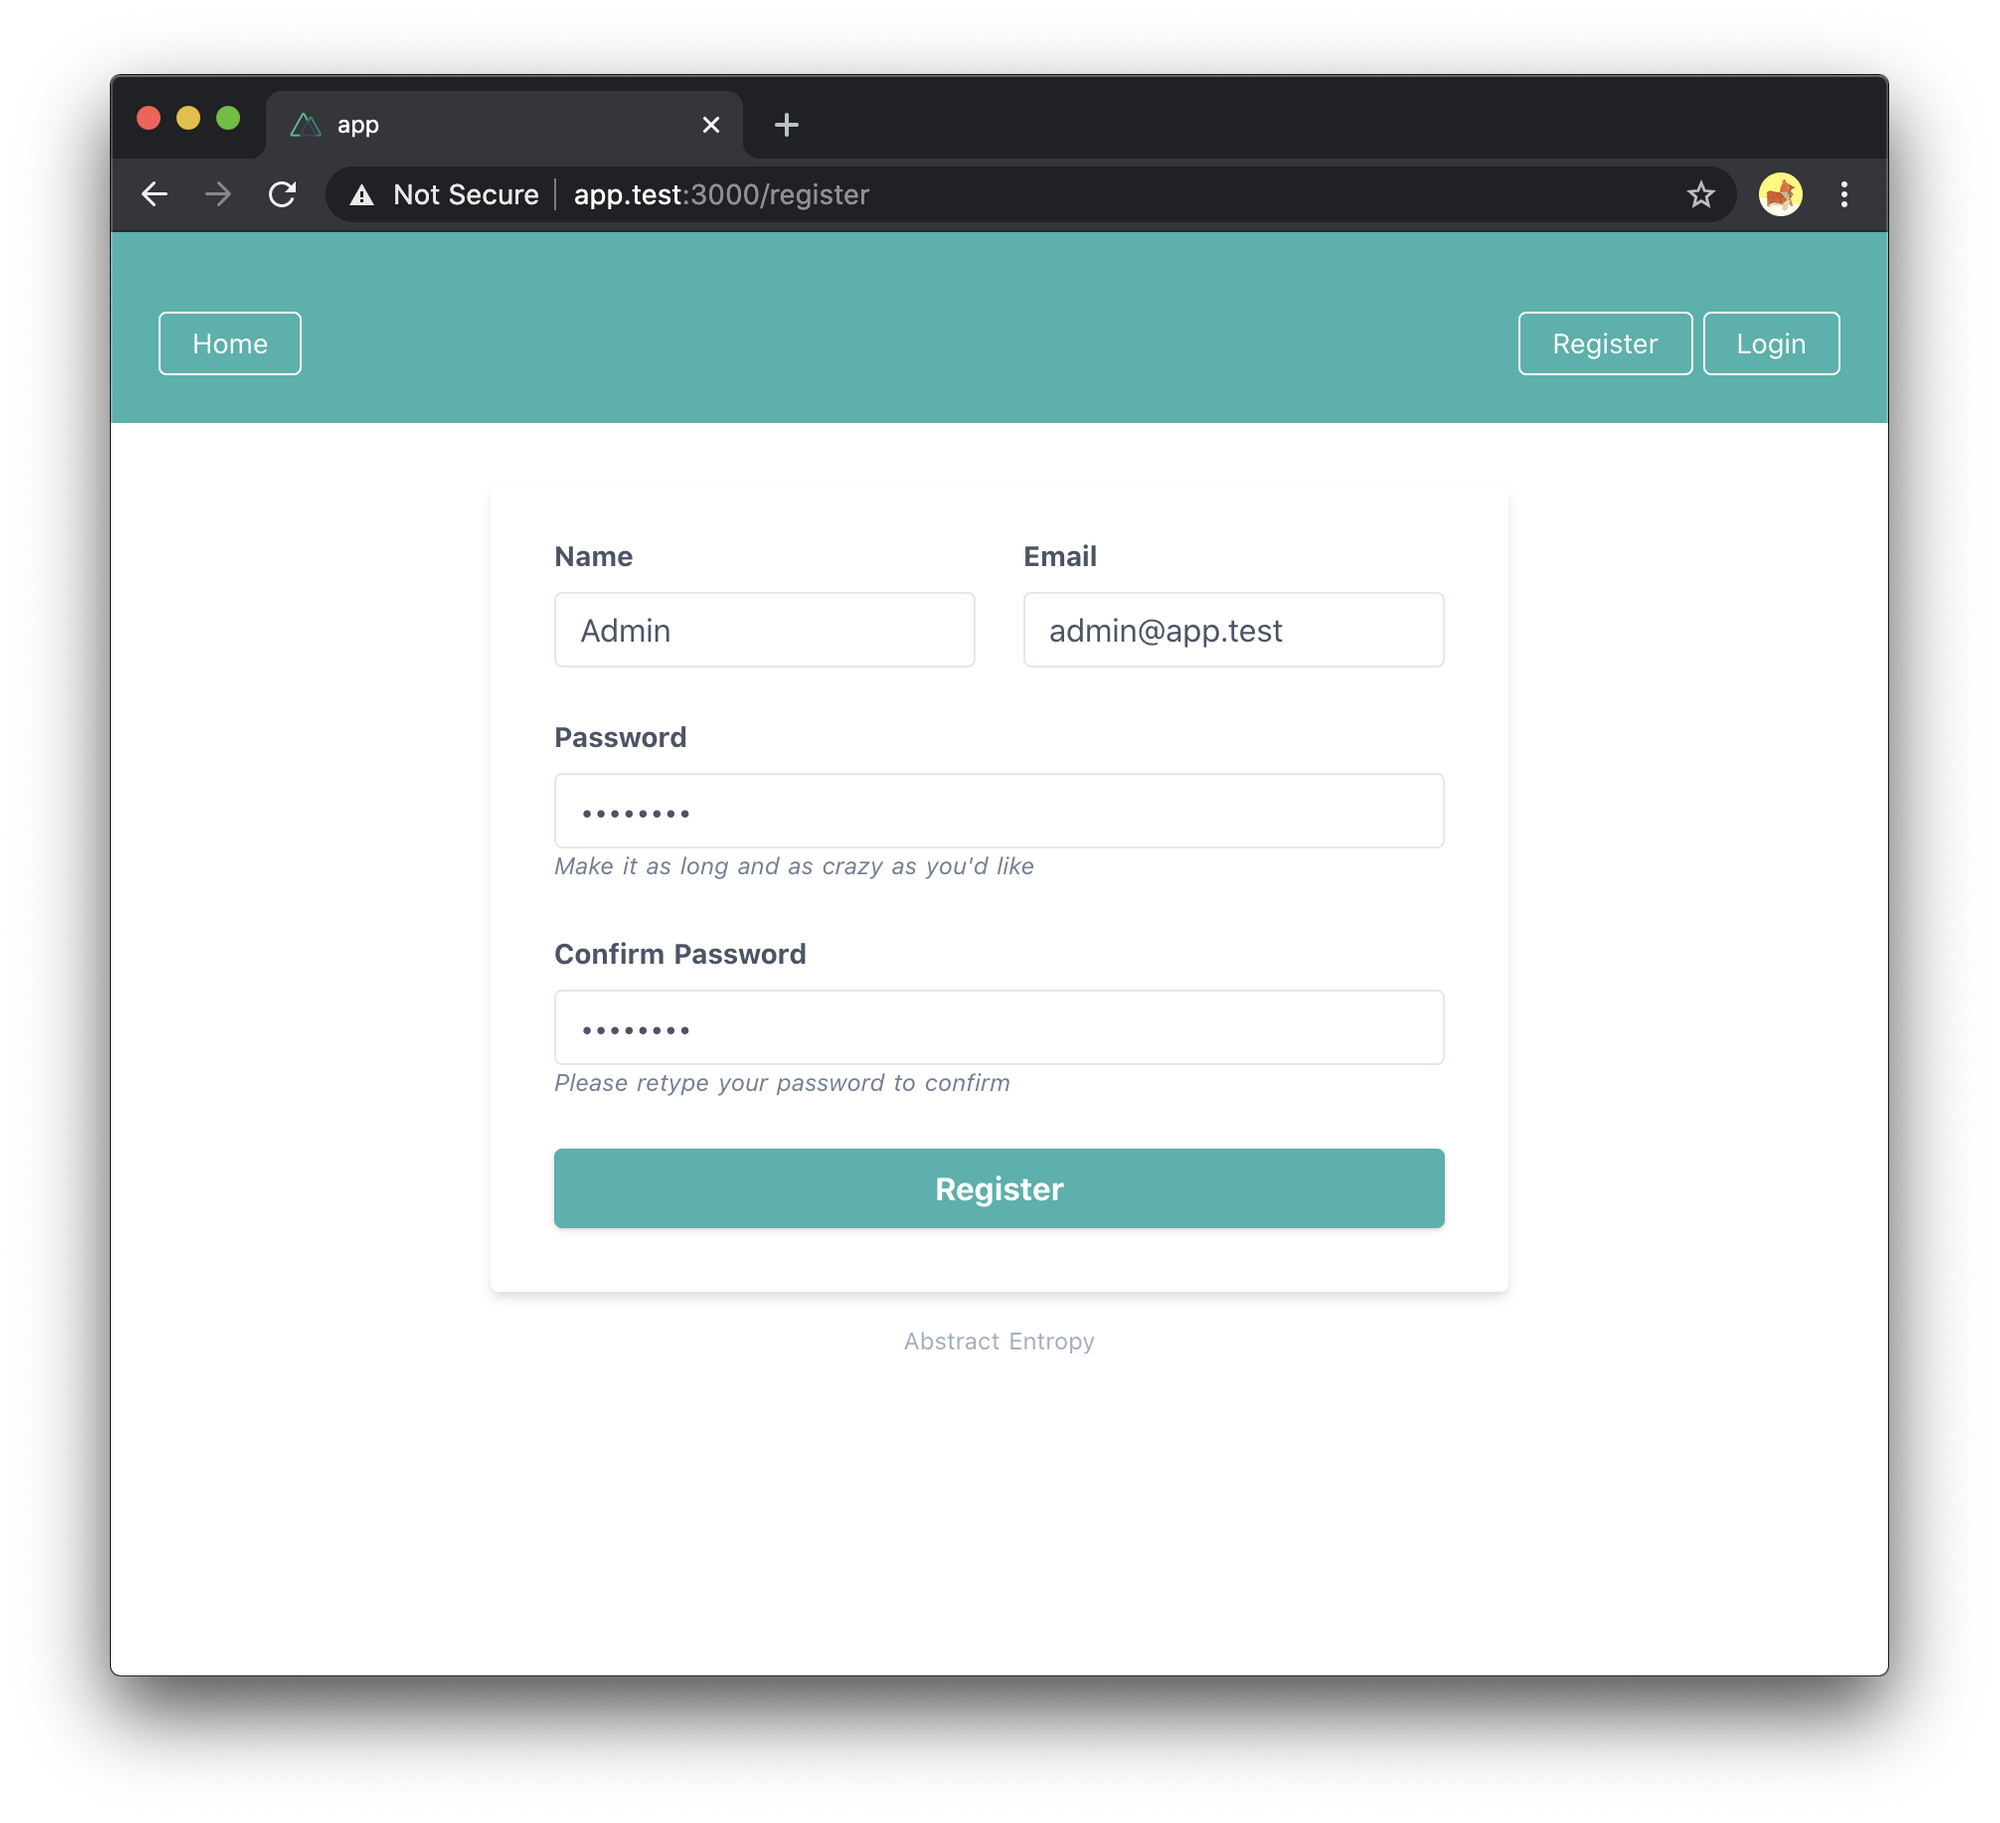
Again, I have created a gist which we can curl.
curl https://gist.githubusercontent.com/CryDeTaan/ef62bf007f0de76faf8ea9dbf69c2bc3/raw/8ab40794fb7fa47dc64f962649e8c6ad0e5fdf5d/register.vue -o pages/register.vuelogin.vue
Lastly, the login.vue file, and as with the register view, I have hardcoded the username and password just as an example, so please remove it from the data property.
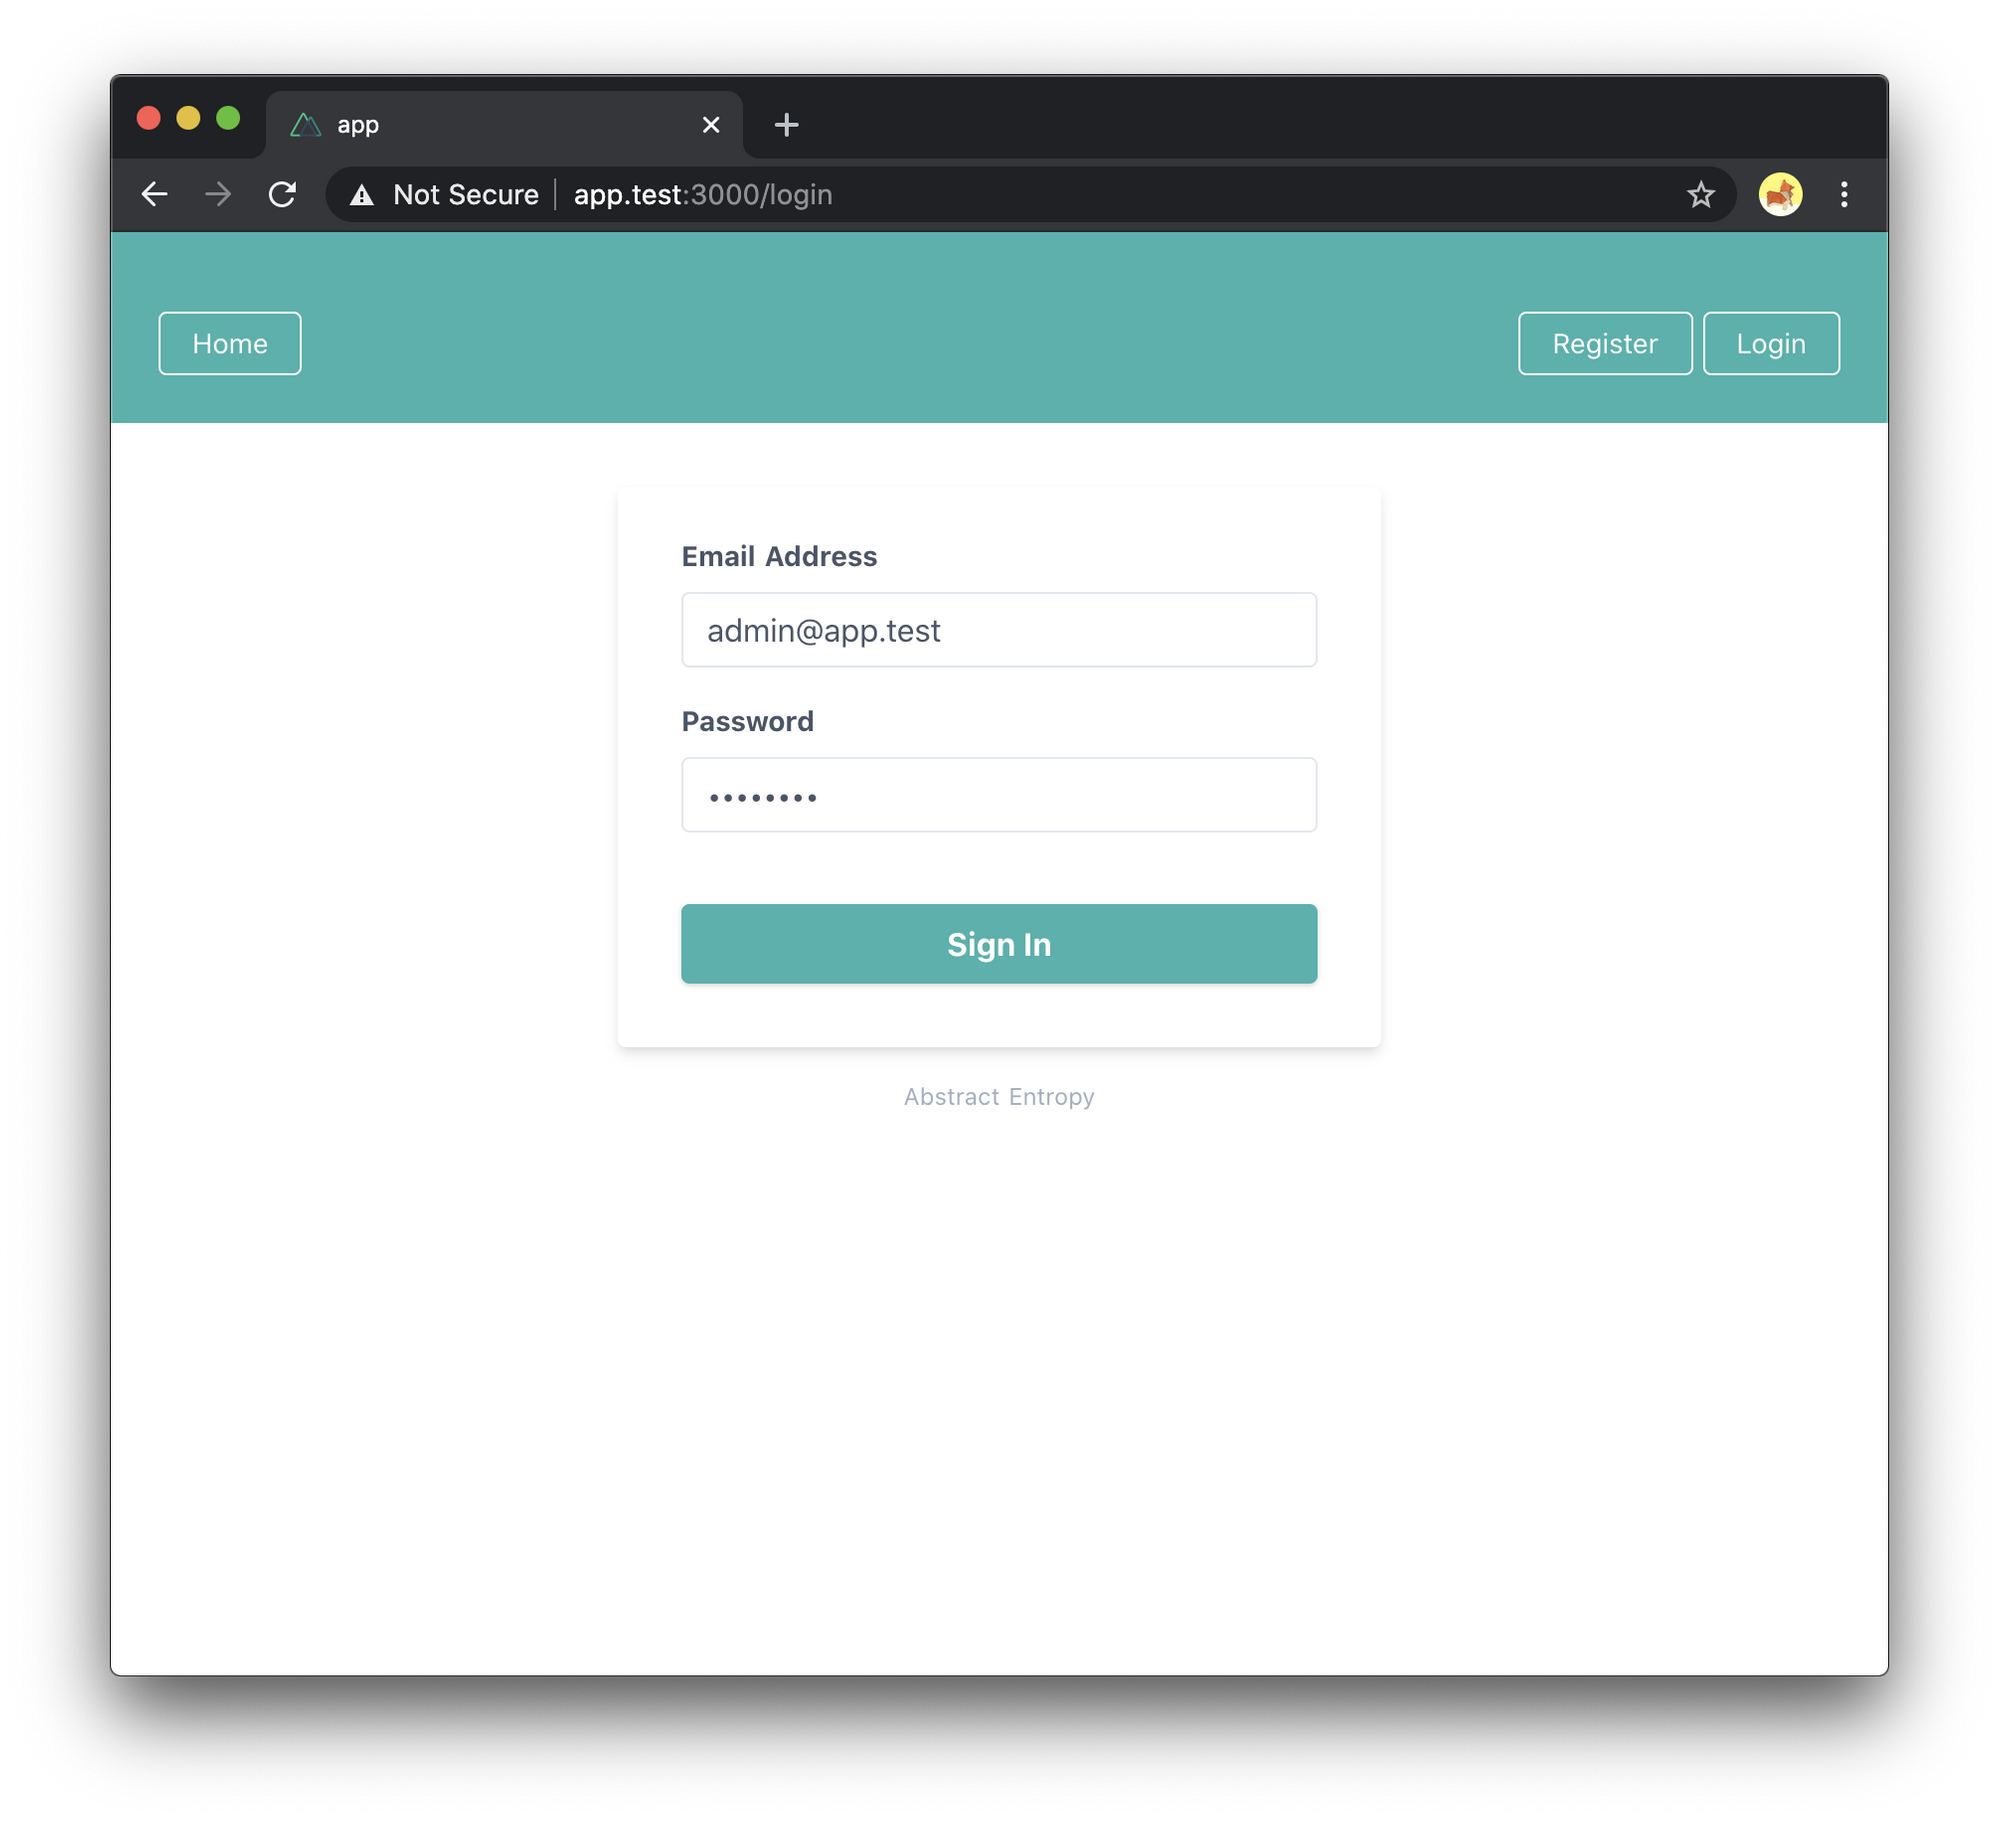
Again, I have created a gist which we can curl.
curl https://gist.githubusercontent.com/CryDeTaan/ef62bf007f0de76faf8ea9dbf69c2bc3/raw/8ab40794fb7fa47dc64f962649e8c6ad0e5fdf5d/login.vue -o pages/login.vueCurl Demo
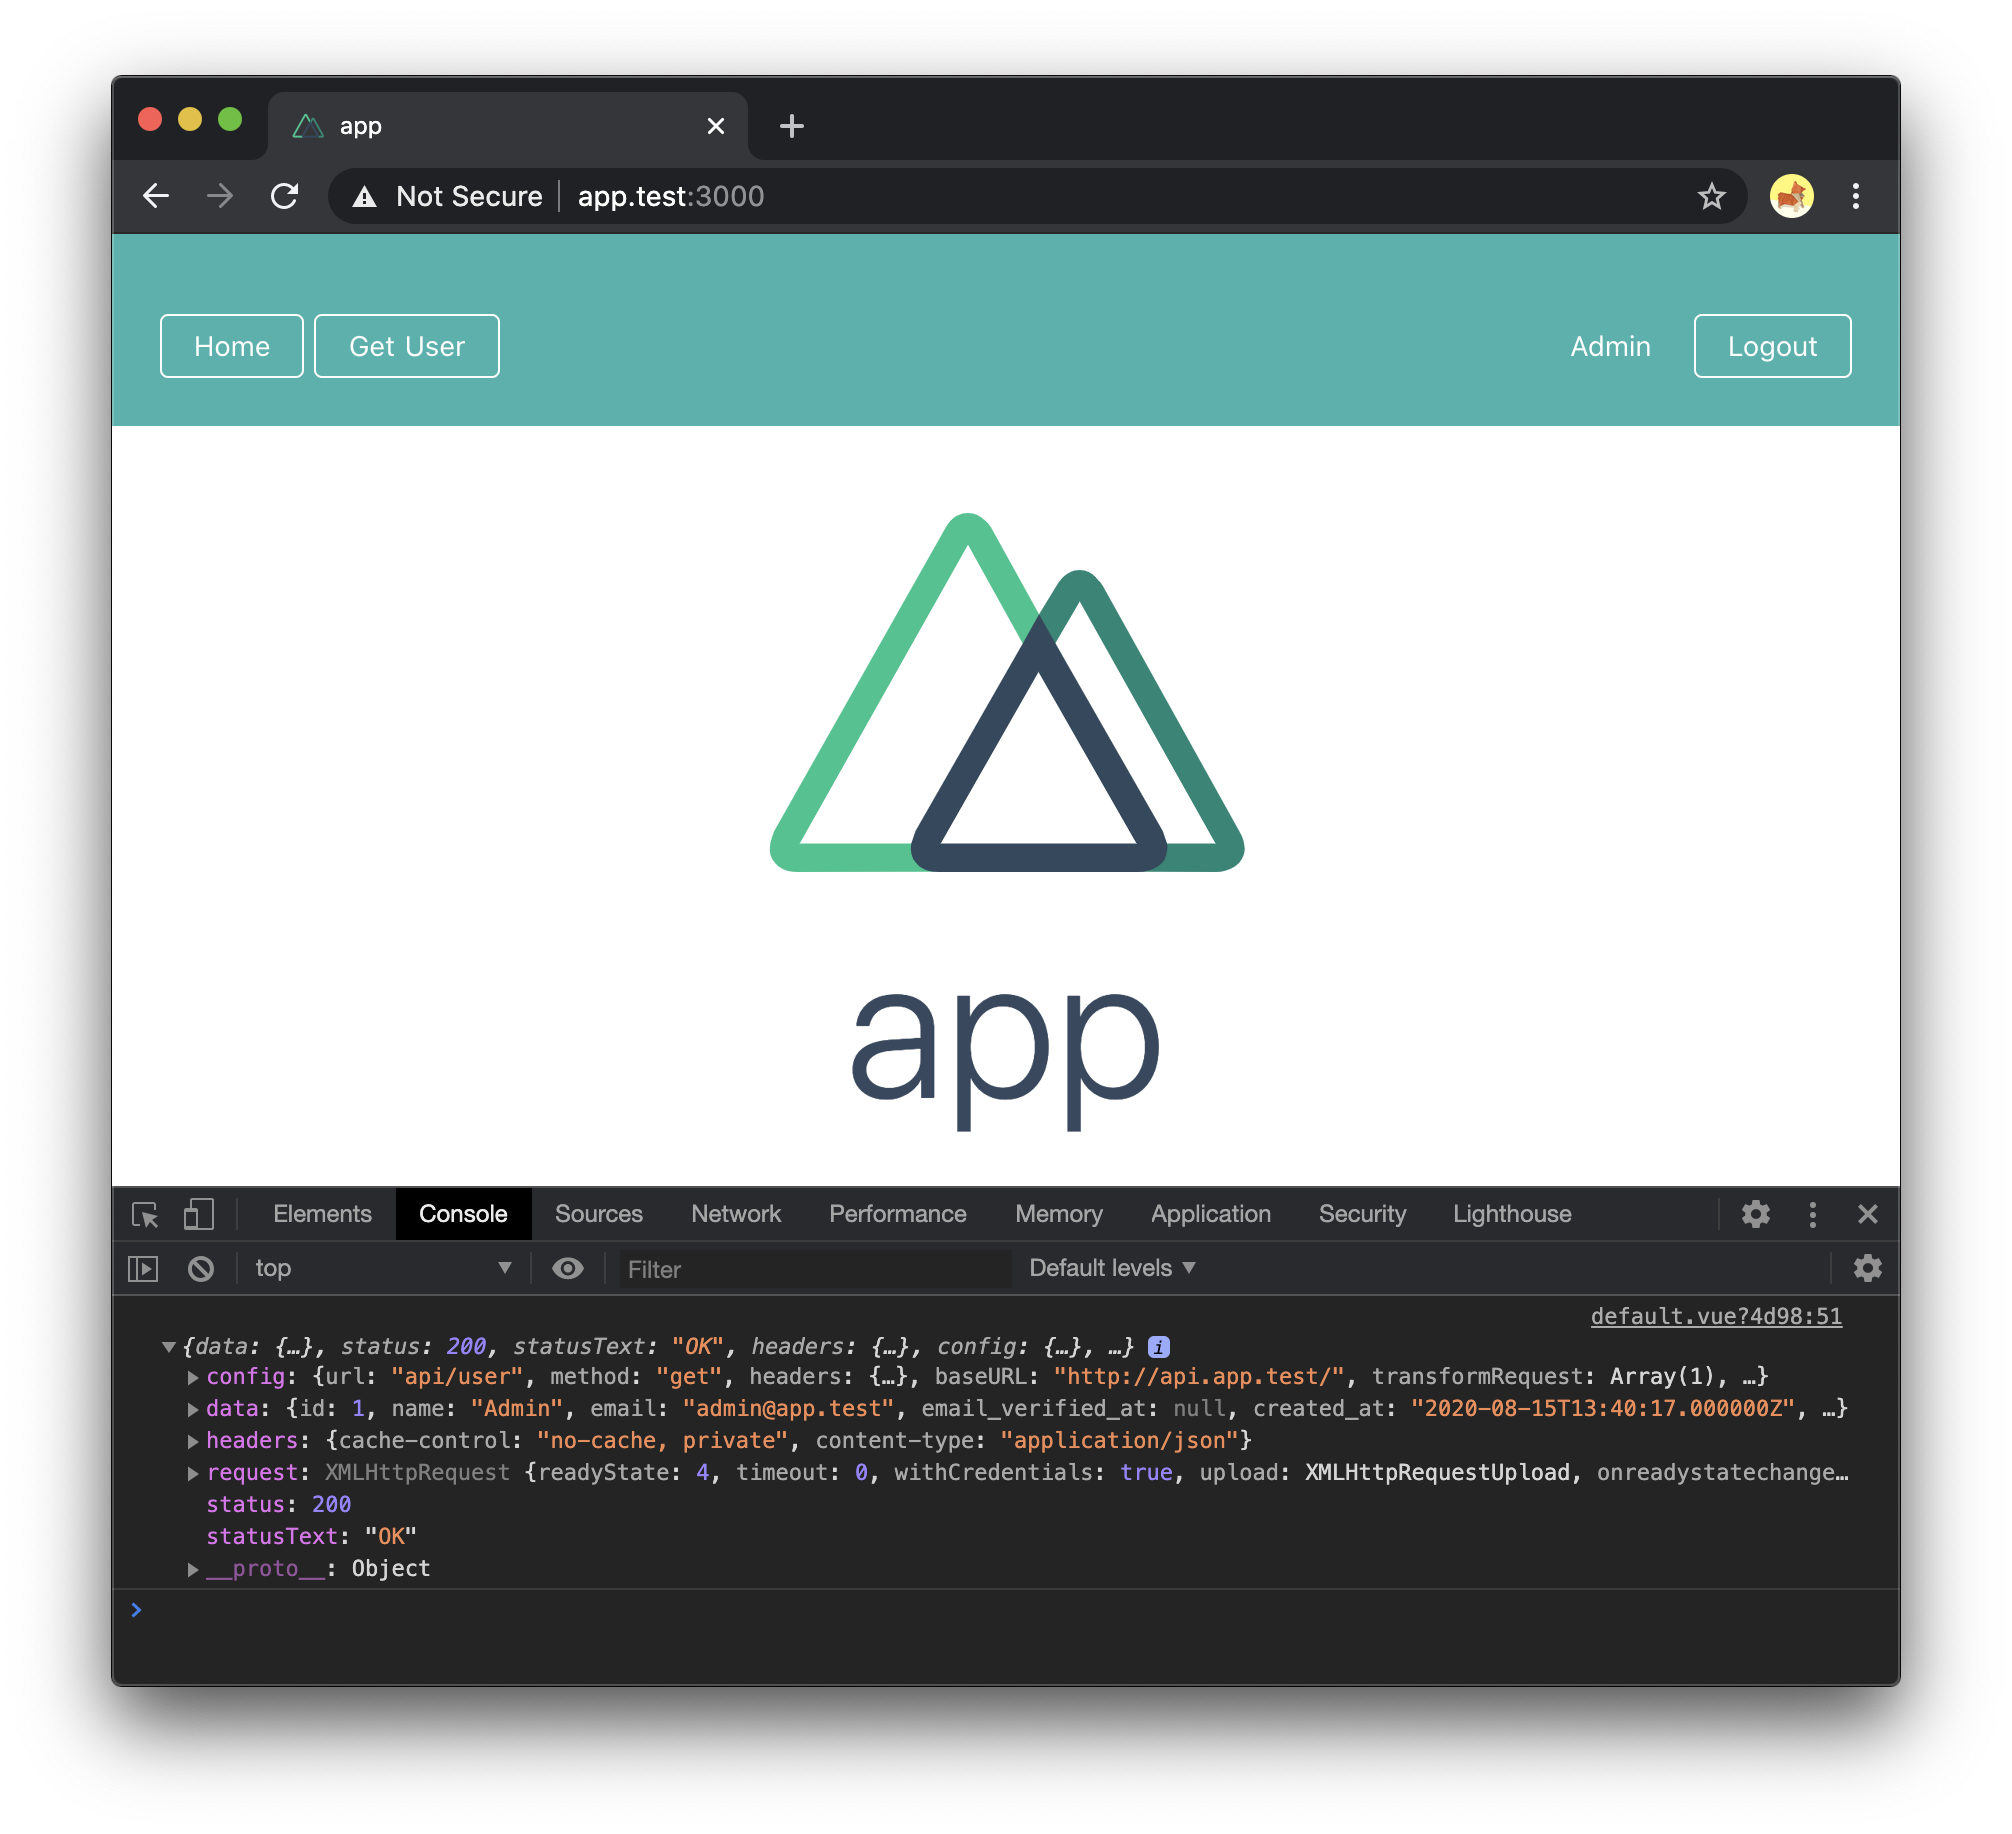
The Final Product
With that we are done! We can now login and once logged in, you'll see the Get User details and the information can bee seen in developer tools. Nothing fancy, but good enough as a starter project.
Remember, this is just a proof of concept, so these views provide minimal functionality. For example, the get user button will not display the User's details, we'll just confirm we receive a response using the dev tools console. However, this could be used as a starting point to build on, should you wish to.
If you enjoyed the post, please consider to subscribe so that you receive future content in your inbox :)
Psssst, worried about sharing your email address and would rather want to hide it? Consider using a service I created to help with that: mailphantom.io
Also, if you have any questions, comments, or suggestions please feel free to Contact Me.