Laravel App in Production - Ubuntu 20.04 (LTS) version
This is a high-level guide to deploy a Laravel Application to production running on Ubuntu 20.04 (LTS) x64, MySQL 8, and PHP 7.4.
There are essentially two parts to this guide:
- What is required to be installed on the OS;
- Configuring the Laravel Application.
This guide can be used to run multiple Laravel Applications on the same server, so for any additional Laravel Applications you may want to add, jump to the Configuring the Laravel Application section.
Preparing the Operating System
I am going to assume that you know how to get to this point, and running as a different user as root. You can follow this guide, which are some steps I generally take after installing a new Ubuntu instance. You want to be somewhere here, not running as root, disabled ssh for root etc.
Also, I make use of Digital Ocean mostly, if you want to sign up, feel free to sign up using my referral link. I will appreciate it if you can help me keep the lights on for this server 😜.
Let's get to it.
1. Updating
Let's make sure everything is updated before we get started.
sudo apt update -y && sudo apt full-upgrade -y && sudo apt autoremove -y
2. LEMP Stack
A LEMP Stack consists of Linux, Nginx, MySQL and PHP. I prefer running Laravel Applications on a LEMP Stack, so with that, let's install the missing pieces.
sudo apt -y install zip nginx mysql-server php-fpm php-mysql php-mbstring php-xml php-bcmath php-zip acl
3. Misc.
Some '3rd-party' requirements.
Composer
Composer is a PHP package manager and is required to install Laravel and any PHP dependencies for the Laravel Application we are going to run.
expected_signature=$(curl -s https://composer.github.io/installer.sig)

php -r "copy('https://getcomposer.org/installer', 'composer-setup.php');"
php -r "if (hash_file('sha384', 'composer-setup.php') === '$expected_signature') { echo 'Installer verified'; } else { echo 'Installer corrupt'; unlink('composer-setup.php'); } echo PHP_EOL;"

php composer-setup.php
php -r "unlink('composer-setup.php');"

sudo mv composer.phar /usr/local/bin/composer
composer
Node (npm)
Most of the time there are some front-end requirements. Most of these requirements are installed as node packages and npm is a package manager for these packages. I use (would not say prefer) node and npm to facilitate this process.
Additionally, I prefer to use Node Version Manager (nvm) to install node and npm. Installing these in the past really become a pain. With this I have the most success.
latest=$(curl -s https://api.github.com/repos/nvm-sh/nvm/releases/latest | grep '"tag_name":' | sed -E 's/.*"([^"]+)".*/\1/')

curl -o- https://raw.githubusercontent.com/nvm-sh/nvm/${latest}/install.sh | bash
export NVM_DIR="$HOME/.nvm"

# This loads nvm
[ -s "$NVM_DIR/nvm.sh" ] && . "$NVM_DIR/nvm.sh"

# This loads nvm bash_completion
[ -s "$NVM_DIR/bash_completion" ] && . "$NVM_DIR/bash_completion"

nvm --version

nvm install node
Certbot(LetsEncrypt)
We'll be making use of LetsEncrypt and the certbot tool to generate ssl/tls certificates for our Laravel Applications.
sudo apt install -y certbot python3-certbot-nginx
4. Configuration
MySQL
It is recommended to run the mysql_secure_installation script after installing MySQL. This updated the root user's password as well as only allowing root user to login locally. It also removed the anonymous users and test database.
I prefer to not go through the prompt of the mysql_secure_installation so I run the following.
NOTE: This is for MySQL 8; there are slight differences for earlier versions, see https://gist.github.com/Mins/4602864
read -sp "Enter MySQL root password: " db_root_password ;echo

sudo mysql -u root <<-EOF
ALTER USER 'root'@'localhost' IDENTIFIED BY '${db_root_password}';
DELETE FROM mysql.user WHERE User='root' AND Host NOT IN ('localhost', '127.0.0.1', '::1');
DELETE FROM mysql.user WHERE User='';
DELETE FROM mysql.db WHERE Db='test' OR Db='test_%';
FLUSH PRIVILEGES;
EOF
db_root_password=
Nginx permissions
As we are not running as root let's set some permissions for our 'management' users so that we can make changes to these directories without needing to invoke sudo all the time.
NOTE: You are welcome to replace $(whoami) with your username, but seeing that I am already signed in with the user I want to use to manage my deployments, this should do.
sudo setfacl -m u:$(whoami):rwx /var/www/html/
sudo setfacl -m u:$(whoami):rwx /etc/nginx/sites-available/
Laravel Application Installation
This guide assumes that the Laravel Application you wish to run is in some source control repository which will be cloned using git clone. If this is not the case, please adapt the process to suit your needs.
First of all, let's set some environment variables.
These will be used during the setup and configuration of the Laravel Application.
APPFQDN=laravel.abstractentropy.com
APPNAME=Laravel
I am going to assume that the value you use as APPFQDN has already been configured with you DNS provider and that DNS lookups for the value resolves to the hosts where you are going to install the Laravel Application.
1. Nginx Configuration
This is the nginx configuration required for nginx to know how to process requests for the Laravel Application.
cat > /etc/nginx/sites-available/${APPFQDN} << EOF
server {
    listen 80;
    server_name ${APPFQDN};
    root /var/www/html/${APPFQDN}/public;

    add_header Strict-Transport-Security 'max-age=63072000; includeSubDomains; preload';
    add_header X-Frame-Options DENY;
    add_header X-Content-Type-Options nosniff;
    add_header X-XSS-Protection '1; mode=block';
    add_header X-Robots-Tag none;

    index index.html index.htm index.php;

    charset utf-8;

    location / {
        try_files \$uri \$uri/ /index.php?\$query_string;
    }

    location = /favicon.ico { access_log off; log_not_found off; }
    location = /robots.txt  { access_log off; log_not_found off; }

    error_page 404 /index.php;

    location ~ \.php$ {
        fastcgi_pass unix:/var/run/php/php7.4-fpm.sock;
        fastcgi_index index.php;
        fastcgi_param SCRIPT_FILENAME \$realpath_root\$fastcgi_script_name;
        include fastcgi_params;
    }

    location ~ /\.(?!well-known).* {
        deny all;
    }
}
EOF
With the new Nginx configuration created, we can enable it and reload Nginx after confirming the configuration is correct.
sudo ln -s /etc/nginx/sites-available/${APPFQDN} /etc/nginx/sites-enabled/
sudo nginx -t
sudo nginx -s reload
2. Getting the Laravel Application
Clone
At this point we can clone the repository. As an example, we'll be using the standard Laravel Application at https://github.com/laravel/laravel.
git clone https://github.com/laravel/laravel.git /var/www/html/${APPFQDN}Permissions
We need to allow the www-data user access to some folder in order for Nginx to serve this Laravel Application.
sudo setfacl -Rm u:www-data:r-x /var/www/html/${APPFQDN}/public
sudo setfacl -Rm u:www-data:rwx /var/www/html/${APPFQDN}/storage
sudo setfacl -m u:www-data:rwx /var/www/html/${APPFQDN}/bootstrap/cache
3. Installation
Just cloning a Laravel Application will not run it, we need to install the dependencies.
Let's navigate to the root of the Laravel Application.
cd /var/www/html/${APPFQDN}/
Composer
At this point we will install the PHP dependencies. We'll be passing the arguments --optimize-autoloader and --no-dev, these just optimise the classes within the autoloader, which makes things a bit faster and omits the installation of any packages only required in Development environments.
composer install --optimize-autoloader --no-dev
npm
Some node modules will be required for the Laravel Application to run, these modules are generally for any front-end related components, and can be skipped if the Laravel Application only serves an API.
npm install
npm run production
4. Configuration
After all that, we still have a few configuration steps to run to finalise the installation.
.env
We need to update a few values in the .env file, as this is not part of source control since it may contain Usernames and Passwords or API keys of 3rd-party services you may include in your Laravel Application, for example Mailgun. This is not something you will want to share with the world.
So to obtain a .env we can copy the example, which is part of the source control repository we cloned.
cp .env.example .env
A few other things to update as well.
sed -i \
    -e "s/^APP_NAME=Laravel$/APP_NAME=${APPNAME}/" \
    -e "s/^APP_ENV=local$/APP_ENV=production/" \
    -e "s/^APP_DEBUG=true$/APP_DEBUG=false/" \
    -e "s/^APP_URL=http:\/\/localhost$/APP_URL=https:\/\/${APPFQDN}\//" .env
Database
New Database User and Permission
We need to create a database at the very least, but I prefer to also create a user with permissions for this new database only.
PASSWD=$(uuidgen)
# Or something like the following
#PASSWD=$(tr -cd '[:alnum:]' < /dev/urandom | fold -w30 | head -n1)

sudo mysql -u root <<-EOF
CREATE DATABASE ${APPNAME};
CREATE USER ${APPNAME}@'localhost' IDENTIFIED BY '${PASSWD}';
GRANT ALL PRIVILEGES ON ${APPNAME} . * TO ${APPNAME}@'localhost';
FLUSH PRIVILEGES;
EOF
With a database created and permissions set to the new user, we can update the .env with these values.
sed -i \
    -e "s/^DB_DATABASE=laravel$/DB_DATABASE=${APPNAME}/" \
    -e "s/^DB_USERNAME=root$/DB_USERNAME=${APPNAME}/" \
    -e "s/^DB_PASSWORD=$/DB_PASSWORD=${PASSWD}/" .env

PASSWD=
Wrap-up Laravel
With that we need to generate a new Application key. This is used for crypto related classes within the application, think sessions cookies etc.
We then run the migrations and I also prefer to run some optimisation commands, some of which may be useless at this point 😂.
php artisan key:generate

php artisan migrate

php artisan config:cache
php artisan cache:clear

composer dump-autoload
5. SSL/TLS Certificate
The certbot tool makes it easy to obtain a certificate for our Laravel Application.
Staging Certificate
To make sure our configuration is correct, we first obtain a staging certificate. This is useful to try and troubleshoot what may be causing issues while trying to obtain a certificate without LetsEncrypt blocking us, because of rate limiting due to too many failed attempts.
The staging certificate should not be used in production environments, so once the installation is finished we will remove the staging cert and obtain a production cert.
CERTEMAIL=laravel@abstractentropy.com #Add your email where you want to receive expiry notifications.
sudo certbot --nginx -d ${APPFQDN} --agree-tos --email ${CERTEMAIL} --no-eff-email --no-redirect --staging
If that was successful we can revoke the staging SSL/TLS certificate and obtain a 'production' certificate.
sudo certbot revoke --cert-path /etc/letsencrypt/live/${APPFQDN}/fullchain.pem --staging
I am not sure why, and I may be missing a step or something here, but the certbot config remains after the revocation. So I prefer to remove that before requesting the production certificate.
sed -i '/# managed by Certbot/d' /etc/nginx/sites-available/${APPFQDN}
sudo nginx -s reload
Production Certificate
At this point I add the --redirect flag which will redirect all http requests to https while using our production certificate.
sudo certbot --nginx -d ${APPFQDN} --agree-tos --email ${CERTEMAIL} --no-eff-email --redirect

# If for any reason we want to revoke.
# sudo certbot revoke --cert-path /etc/letsencrypt/live/${APPFQDN}/fullchain.pem
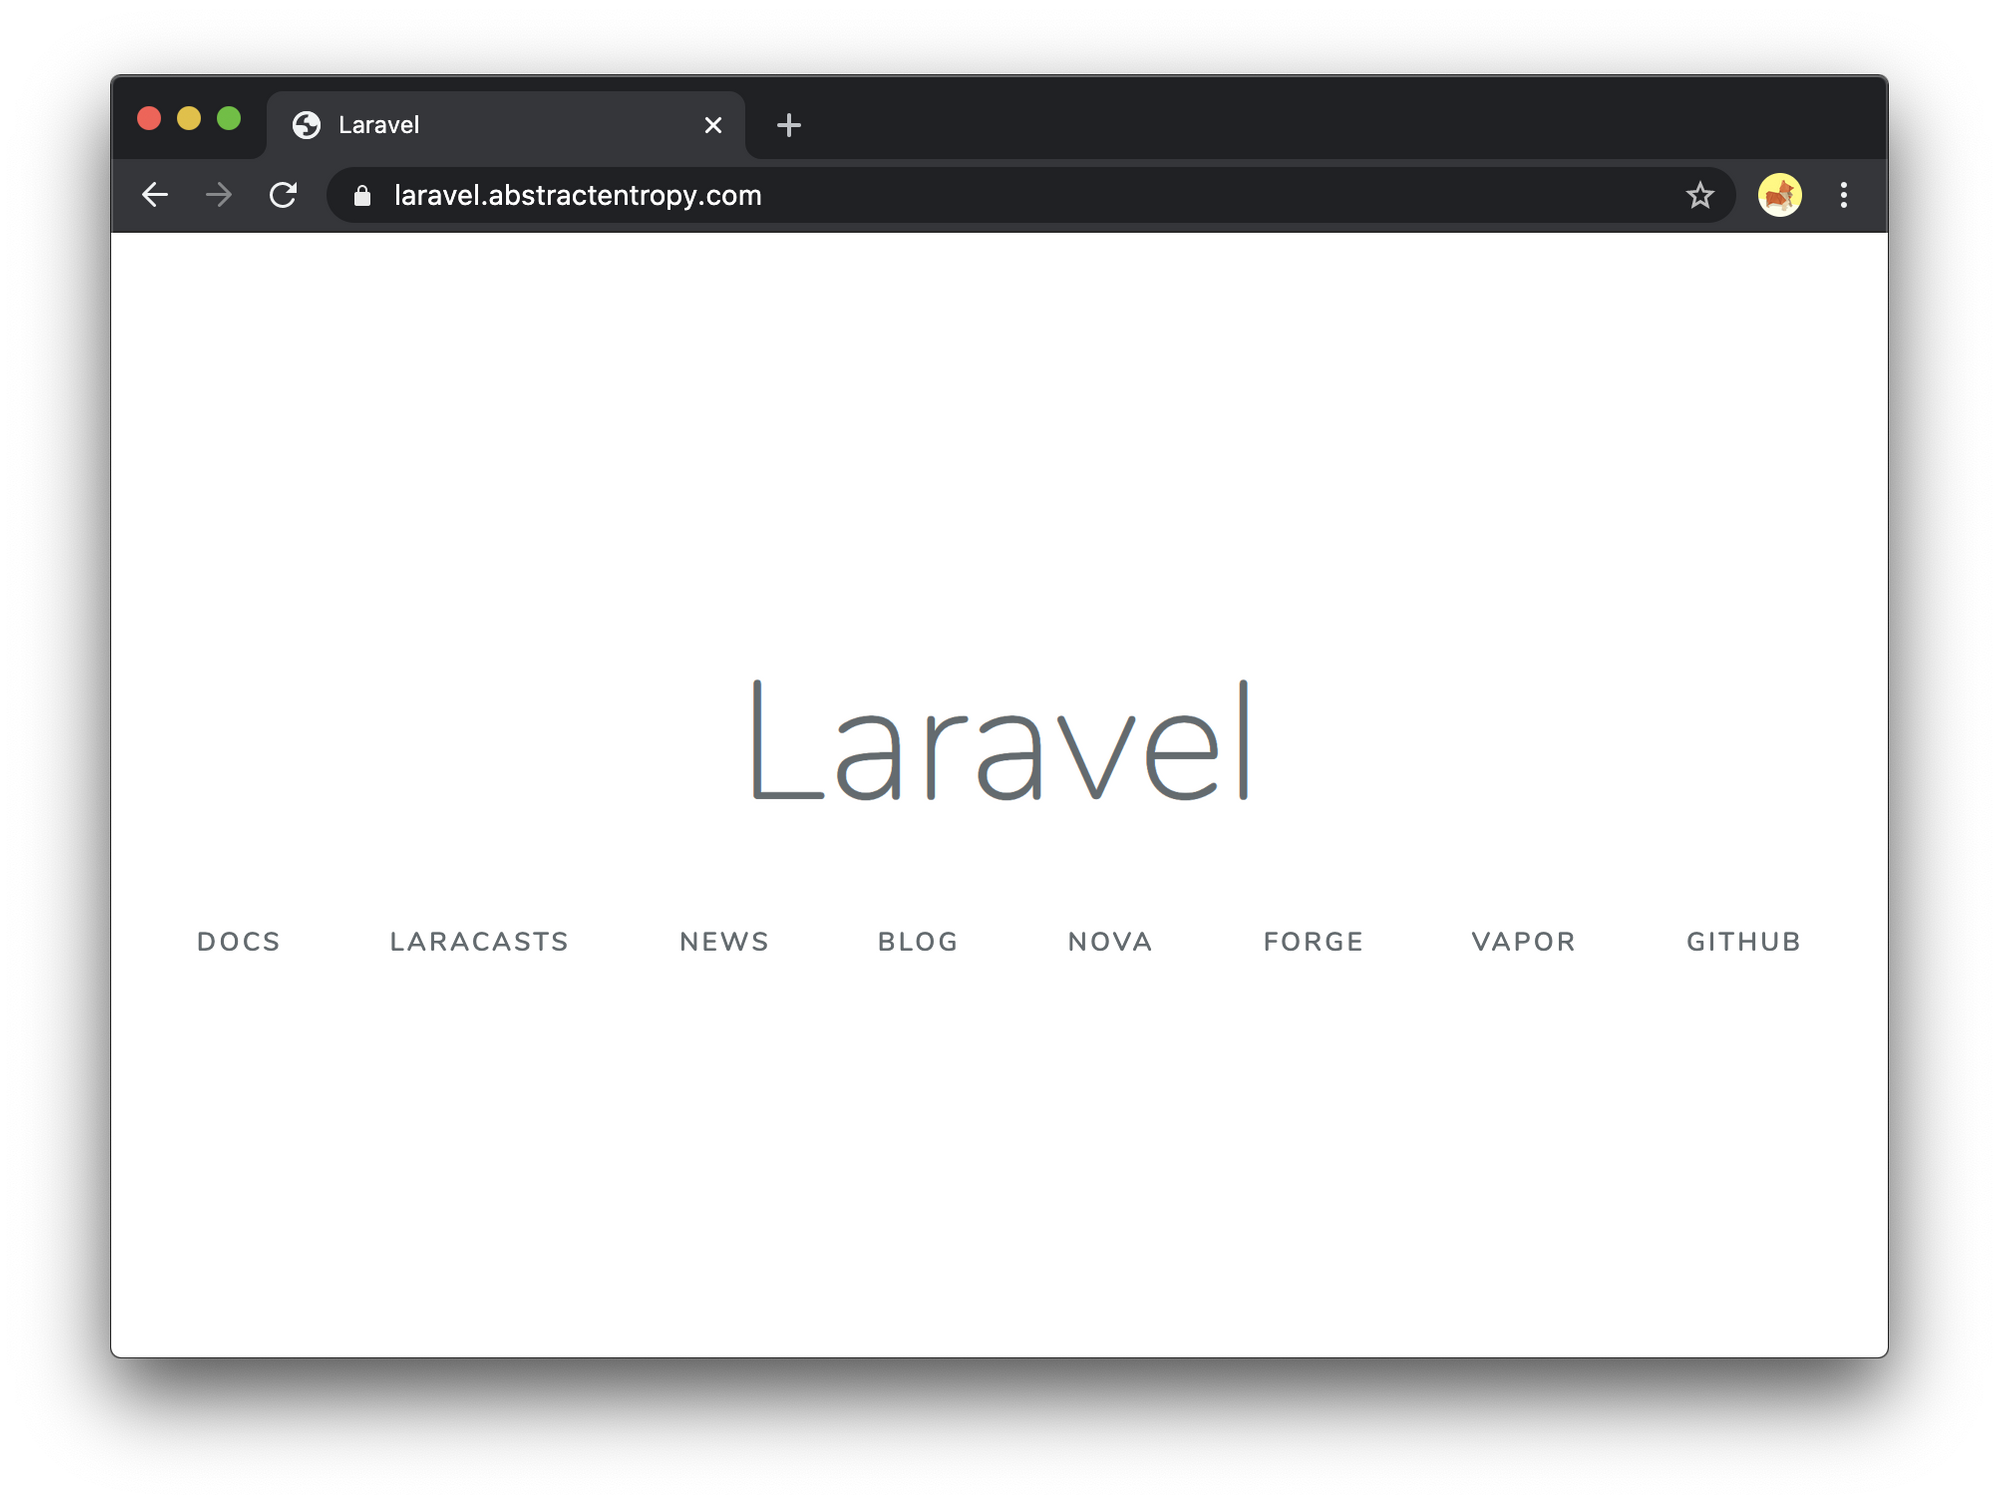
Installed
With that we have deployed our Laravel app to a Production server running Ubuntu 20.04 (LTS) x64, MySQL 8, and PHP 7.4.
Thanks for reading.
If you enjoyed the post, please consider to subscribe so that you receive future content in your inbox :)
Psssst, worried about sharing your email address and would rather want to hide it? Consider using a service I created to help with that: mailphantom.io
Also, if you have any questions, comments, or suggestions please feel free to Contact Me.